

This tutorial is an introduction to Adobe Air application development using Flash CS3 (or later versions) for them who are unknown to Air applications or just beginners. In this post I want to explain how to develop a business card (desktop application) using some basic tools available in Adobe Flash.
About Author

The basic needs for implementing this article are
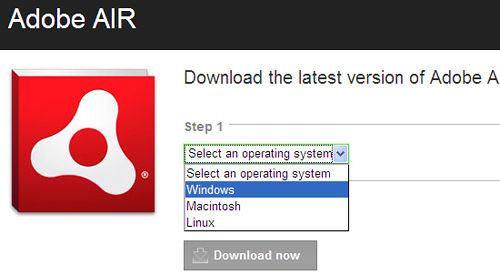
1.Installing the Adobe Air Runtime
http://get.adobe.com/air/otherversions/
Download latest version of Adobe Air by choosing your Operating system.
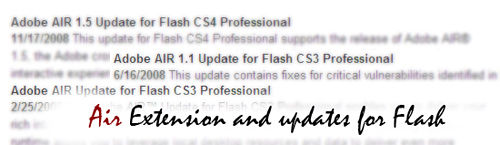
2.Getting ready Adobe flash to support Air development
(If you are using flash CS3 you have to install the Air extension or if you are using flash CS4 you need not to install any extensions as it is already installed along with CS4 but it is good to get an update)
For flash CS3 install the extension -
http://www.adobe.com/support/flash/downloads.html#flashCS3
For flash CS4 install adobe air update
http://www.adobe.com/support/flash/downloads.html#flashCS4
Designing the Contents
Open flash cs3 or cs4 and select adobe air application at the welcome screen.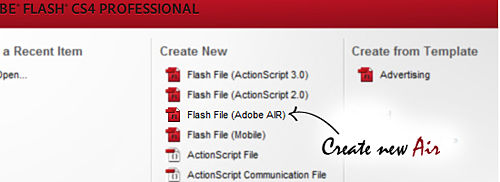
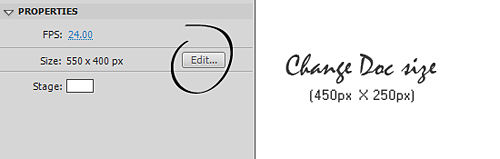
Now a blank document is created with the default dimensions. So we need to change the width and height to 450px and 350px respectively.
To change doc dimensions in the properties panel (Ctrl + F3), click on edit and give width and height.
Now in the TIMELINE (by default we have one layer) create a new one by clicking on New Layer button and rename the layers as contents and actions

Now select the first key frame in contents layer, and select the Text Tool in the Tools panel draw a text on the blank document.( To select Text tool press short cut key - T)

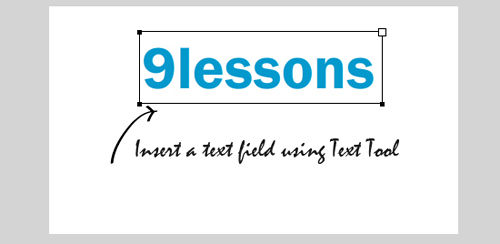
Like wise the by keeping the first key frame in contents layer selected add three more text fields (like twitter, facebook, www.9lessons.info ).

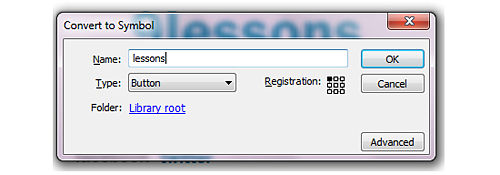
Then the next step is to convert all the text labels into buttons.
For converting a text label into button – select a text label and press F8 on the keyboard and give the button name. (Give names like twitter, facebook, lessons)
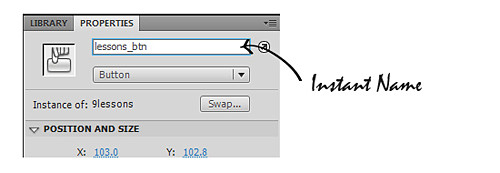
After converting all text labels into buttons we need to give an instant name for every button and this is the most importing step as instant name is the unique identification for an element on the document stage)
For twitter button give instant name as twitter_btn.
For facebook button give instant name as facebook_btn.
For lessons button give instant name as lessons_btn.
Up to this step we completed the designing part of our tutorial and now we need to code our design.
Adding action script to the elements
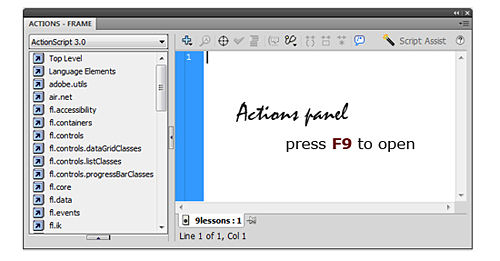
Now select the first key frame on the actions layer and press F9 to open up Action script panel.
Writing the Code
var lessons_URL:URLRequest = new URLRequest("http://www.9lessons.info");
var twitter_URL:URLRequest = new URLRequest("http://www.twitter.com/9lessons");
var facebook_URL:URLRequest = new URLRequest("http://www.facebook.com/9lessons");
twitter_btn.addEventListener(MouseEvent.CLICK, gotoTwitter);
fbook_btn.addEventListener(MouseEvent.CLICK, gotoFacebook);
lessons_btn.addEventListener(MouseEvent.CLICK, goto9lessons);
function gotoTwitter(event:MouseEvent):void{
navigateToURL(lessons_URL, "_blank");
}
function gotoFacebook(event:MouseEvent):void{
navigateToURL(twitter_URL, "_blank");
}
function goto9lessons(event:MouseEvent):void{
navigateToURL(facebook_URL, "_blank");
}
Test the Application
To check our scripts to run press Ctrl + Enter to run our application. If it is running with no errors, the last step is to publish an Air File.
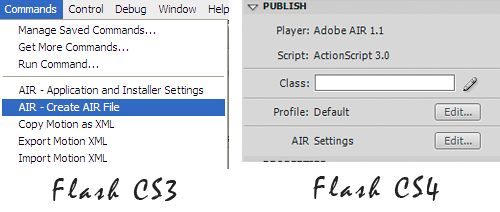
Publishing the Air file
To publish air application Edit the AIR Setting and in the settings give all the details required.
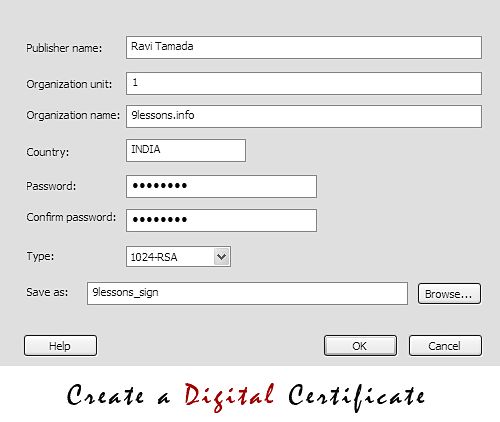
(Note: Without giving a digital Certificate we cannot generate an Air file)
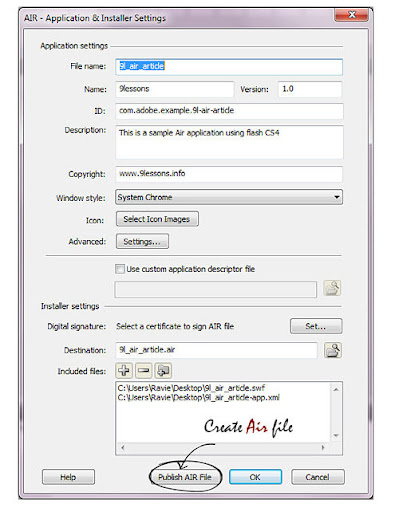
After filling all the data click on Publish AIR File. Now an air file created in the same directory.
Now double click the air icon to install the Application... And then go to Start >
Programs to launch our air application

Final Output
Output 1
Output 2


Wow Great article! Thanks a lot.
ReplyDeleteare you panning to add more functions like a rss feed or show info taken from a db?
waaw.. is it your first post about flash?
ReplyDeletenice work.. :D
i like it.. keep post about flash that you know.. :D
@ravitamada
ReplyDeleteGreat work..
Its really great tutz about adobe air .. so can we integrate PHP with adobe air?
ReplyDeletethanks
@Buzzknow
ReplyDeleteThanks for your interest in this article. We can integrate PHP with air .. that article will come soon.....
Thanks for the post
ReplyDeletegreat post, got a good intro to adobe - AIR application devlpment. can u please put a post on php integration with adobe-AIR.
ReplyDeleteI create a facebook app using adove air. But when the after the login on facebook, the login window doesnt close and just say "Success".
ReplyDeleteWhy is this happening?