

This article is more about understanding the Event Emitters in Angular and Ionic. Data flow is the most important when you build an application to communicate with components. Event Emitters will help you to even bind using @Input @Output decorators. Here is a simple example to display and update the user profile using Angular Event Emitters. For this demo I choose Ionic framework for better experience. Take a quick look at the live demo.

Live Demo
Video Tutorial
Prerequisites
You need to have the following software installed:
- Node 12+
- Ionic 5+
- @angular/cli
- Ionic
Note: You can try this project with both Angular and Ionic(Angular project with mobile components). For this article, I choose Ionic for the better user experience.
Create Angular Project
Generate an Angular project.
$ng new projectName
Run the Project
Project server will run at 4200 port.
$ng serve
OR
Create Ionic Project
Generate an Ionic project with tabs feature. Choose Angular framework to initiate.
$ionic start projectName tabs

Run the Project
Project server will run at 8100 port.
$ionic serve

Create a components folder for organizing all of the child components. Generate a components module using ng command.
$ ng generate module components
CREATE src/app/components/components.module.ts (196 bytes)
CREATE src/app/components/components.module.ts (196 bytes)

This demo is about displaying an user profile with name and about with edit feature to modify the user data.
Creating Child Components
Use ng command and generate all of the child components under the components folder.
User Profile
This is component for displaying the user information.
$ng generate component components/user-profile
CREATE src/app/components/user-profile/user-profile.component.scss (0 bytes)
CREATE src/app/components/user-profile/user-profile.component.html (31 bytes)
CREATE src/app/components/user-profile/user-profile.component.spec.ts (718 bytes)
CREATE src/app/components/user-profile/user-profile.component.ts (291 bytes)
Edit Profile
Component for updating the user profile.
$ng generate component components/edit-profile
CREATE src/app/components/edit-profile/edit-profile.component.scss (0 bytes)
CREATE src/app/components/edit-profile/edit-profile.component.html (31 bytes)
CREATE src/app/components/edit-profile/edit-profile.component.spec.ts (718 bytes)
CREATE src/app/components/edit-profile/edit-profile.component.ts (291 bytes)
components.module.ts
Here you have to import the components and include these in declarations and exports. Using this module you can easily export these child components to other components or pages. Basic Angular Cli project imports by default.
import { CommonModule } from '@angular/common';
import { NgModule } from '@angular/core';
import { FormsModule } from '@angular/forms';
import { IonicModule } from '@ionic/angular';
import { EditProfileComponent } from './edit-profile/edit-profile.component';
import { UserProfileComponent } from './user-profile/user-profile.component';
@NgModule({
declarations: [UserProfileComponent, EditProfileComponent],
exports: [UserProfileComponent, EditProfileComponent],
imports: [CommonModule, IonicModule, FormsModule]
})
export class ComponentsModule {}
Note: Import the Angular FormsModule and IonicModule for importing the Ionic UI components.
Parent Component or Page
Here the tab1 is the parent component for the above newly generated child components.
tab1.module.ts
Parent component module.
import { CommonModule } from '@angular/common';
export class Tab1PageModule {}
import { NgModule } from '@angular/core';
import { FormsModule } from '@angular/forms';
import { RouterModule } from '@angular/router';
import { IonicModule } from '@ionic/angular';
import { ComponentsModule } from './../components/components.module';
import { Tab1Page } from './tab1.page';
@NgModule({
imports: [
IonicModule,
CommonModule,
FormsModule,
ComponentsModule,
RouterModule.forChild([{ path: '', component: Tab1Page }])
],
declarations: [Tab1Page]
})
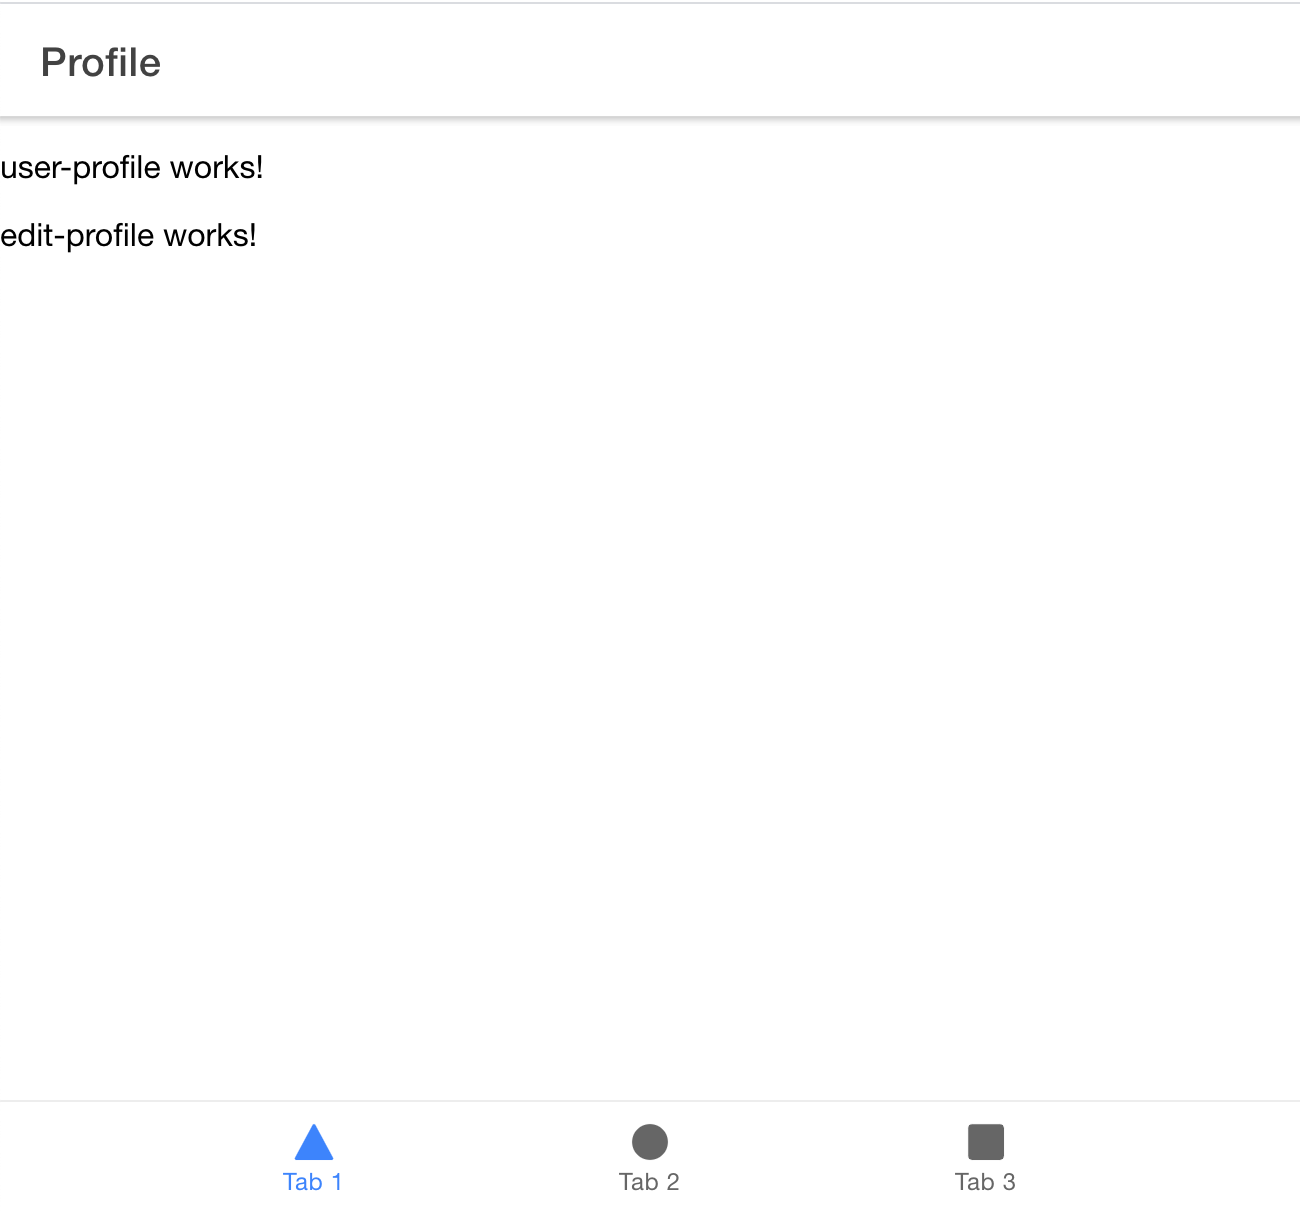
tab1.page.html
Include the child component tags in the following way and remove the app-explore-container default component tag.
<ion-header [translucent]="true">
<ion-toolbar>
<ion-title>
Profile
</ion-title>
</ion-toolbar>
</ion-header>
<ion-content [fullscreen]="true">
<ion-header collapse="condense">
<ion-toolbar>
<ion-title size="large">Profile</ion-title>
</ion-toolbar>
</ion-header>
<app-user-profile></app-user-profile>
<app-edit-profile></app-edit-profile>
</ion-content>
tab1.page.ts
Get the user profile information the API call and assign it to userProfileData variable. For this demo, setting up the user values directly.
import { Component, OnInit } from '@angular/core';
@Component({
selector: 'app-tab1',
templateUrl: 'tab1.page.html',
styleUrls: ['tab1.page.scss']
})
export class Tab1Page implements OnInit {
userProfileData = {
name: '',
about: ''
};
constructor() {}
ngOnInit() {
this.getUserProfileData();
console.log(this.userProfileData);
}
getUserProfileData() {
/* Get this data from the API */
this.userProfileData.name = 'Srinivas Tamada';
this.userProfileData.about = 'Make people fall in love with your ideas.';
}
}
tab1.page.html
Inject the userProfileDate into <app-user-profile> component with [userProfile] input attribute.
<app-user-profile [userProfile]="userProfileData"></app-user-profile>
user-profile.component.ts
Use the @Input() Event Emitter, you can receive the userProfile data.
import { Component, OnInit, Input } from '@angular/core';
@Component({
selector: 'app-user-profile',
templateUrl: './user-profile.component.html',
styleUrls: ['./user-profile.component.scss'],
})
export class UserProfileComponent implements OnInit {
@Input() userProfile: any;
constructor() { }
ngOnInit() {}
}
user-profile.component.html
Updated the design with Ionic UI components and displaying user information using the userProfile @Input event emitter. In this design included a button for showing and hiding the edit profile component.
<ion-card>
</ion-card>
<ion-card-header>
<ion-card-subtitle>Profile</ion-card-subtitle>
<ion-card-title [innerHTML]="userProfile.name"></ion-card-title>
</ion-card-header>
<ion-card-content>
<p [innerHTML]="userProfile.about"></p>
<ion-button size="small">Edit</ion-button>
</ion-card-content>
You will find the updated design with user information.

Working with Edit Profile Button
tab1.page.ts
Introducing the editProfileStatus variable with false value. Using editProfileToggle method, toggling the status value to show and hide the components.
import { Component, OnInit } from '@angular/core';
}
@Component({
selector: 'app-tab1',
templateUrl: 'tab1.page.html',
styleUrls: ['tab1.page.scss']
})
export class Tab1Page implements OnInit {
userProfileData = {
name: '',
about: ''
};
editProfileStatus = false;
constructor() {}
ngOnInit() {
this.getUserProfileData();
console.log(this.userProfileData);
}
getUserProfileData() {
/* Get this data from the API */
this.userProfileData.name = 'Srinivas Tamada';
this.userProfileData.about = 'Make people fall in love with your ideas.';
}
editProfileToggle() {
this.editProfileStatus = !this.editProfileStatus;
}
tab1.page.html
Add the *ngIf condition and use ng-template for else condition. Added the editProfileToggle method to app-user-profile component for edit button action.
<app-user-profile [userProfile]="userProfileData"
</ng-template>
*ngIf="!editProfileStatus; else editProfile"
(editProfile)="editProfileToggle()"></app-user-profile>
<ng-template #editProfile>
<app-edit-profile></app-edit-profile>
user-profile.component.html
Using @Output Event Emitters, edit button action executing the parent editProfileToggle method.
import { Component, EventEmitter, Input, OnInit, Output } from '@angular/core';
}
@Component({
selector: 'app-user-profile',
templateUrl: './user-profile.component.html',
styleUrls: ['./user-profile.component.scss']
})
export class UserProfileComponent implements OnInit {
@Input() userProfile: any;
@Output() editProfile = new EventEmitter();
constructor() {}
ngOnInit() {}
editProfileAction() {
this.editProfile.emit();
}
user-profile.component.ts
Add a click action for the edit button.
<ion-button size="small" (click)="editProfileAction()">Edit</ion-button>
edit-profile.component.html
Create an edit profile form using Ionic Form components. Here #profileName is a reference for the user name input, use the for focusing the user profile name input. newUserProfileData is the empty object to get the user edit information.
<ion-card id="profile-card">
</ion-card>
<ion-card-header>
<ion-card-subtitle>Update Profile</ion-card-subtitle>
</ion-card-header>
<ion-card-content>
<ion-item>
<ion-label position="stacked">Name</ion-label>
<ion-input [(ngModel)]="newUserProfileData.name" #profileName></ion-input>
</ion-item>
<ion-item>
<ion-label position="stacked">About</ion-label>
<ion-textarea [(ngModel)]="newUserProfileData.about"></ion-textarea>
</ion-item>
<ion-button size="small" color='danger'>Cancel</ion-button>
<ion-button size="small" color="success">Save</ion-button>
</ion-card-content>
edit-profile.component.ts
Here @ViewChild helps you to focus the input. Now the new user information stores at newProfileUserData object.
import { AfterViewInit, Component, ViewChild } from '@angular/core';
}
import { IonInput } from '@ionic/angular';
@Component({
selector: 'app-edit-profile',
templateUrl: './edit-profile.component.html',
styleUrls: ['./edit-profile.component.scss']
})
export class EditProfileComponent implements AfterViewInit {
@ViewChild('profileName', {static: true}) inputElement: IonInput;
public newUserProfileData = {
name: '',
about: ''
};
constructor() {}
ngAfterViewInit() {
setTimeout(() => {
this.inputElement.setFocus();
}, 400);
}

tab1.page.ts
Added a new method updateProfile to updating the user information and it hits the editProfileToggle method to go previous state.
import { Component, OnInit } from '@angular/core';
@Component({
selector: 'app-tab1',
templateUrl: 'tab1.page.html',
styleUrls: ['tab1.page.scss']
})
export class Tab1Page implements OnInit {
userProfileData = {
name: '',
about: ''
};
editProfileStatus = false;
constructor() {}
ngOnInit() {
this.getUserProfileData();
console.log(this.userProfileData);
}
getUserProfileData() {
/* Get this data from the API */
this.userProfileData.name = 'Srinivas Tamada';
this.userProfileData.about = 'Make people fall in love with your ideas.';
}
/* toggle the edit profile status */
editProfileToggle() {
this.editProfileStatus = !this.editProfileStatus;
}
/* update the user profile */
updateProfile(data: any) {
this.userProfileData.name = data.name;
this.userProfileData.about = data.about;
this.editProfileToggle();
}
}
tab1.page.html
Add event emit output method for cancel and save actions.
<app-edit-profile (cancelEditProfile)="editProfileToggle()" (updateProfileData)="updateProfile($event)">
</app-edit-profile>
</app-edit-profile>
edit-profile.component.ts
Here cancelEditProfileAction emits the parent editProfileToggle. Form update profile action emits the updateProfileDate with new updated profile date(newUserProfileData).
import { AfterViewInit, Component, ViewChild, Output, EventEmitter } from '@angular/core';
import { IonInput } from '@ionic/angular';
@Component({
selector: 'app-edit-profile',
templateUrl: './edit-profile.component.html',
styleUrls: ['./edit-profile.component.scss']
})
export class EditProfileComponent implements AfterViewInit {
@ViewChild('profileName', {static: true}) inputElement: IonInput;
@Output() cancelEditProfile = new EventEmitter();
@Output() updateProfileData = new EventEmitter<any>();
public newUserProfileData = {
name: '',
about: ''
};
constructor() {}
ngAfterViewInit() {
setTimeout(() => {
this.inputElement.setFocus();
}, 400);
}
cancelEditProfileAction() {
this.cancelEditProfile.emit();
}
updateProfileAction() {
if(this.newUserProfileData.name){
this.updateProfileData.emit(this.newUserProfileData);
}
}
}
edit-profile.component.html
Connect these action with cancel and save buttons.
<ion-button size="small" (click)="cancelEditProfileAction()" color='danger'>Cancel</ion-button>
<ion-button size="small" (click)="updateProfileAction()" color="success">Save</ion-button>
<ion-button size="small" (click)="updateProfileAction()" color="success">Save</ion-button>
Production Build
$npm run build --prod


Awesome website some of the post work on blogspot and very useful.
ReplyDeleteYou are master in coding. Will you please post to make blogspot template amp enabled. How can we make our blogspot theme amp enabled.
Please its a request
You are the inspiration to me as a professional blogger....!
ReplyDelete