9lessons Programming Blog - Tutorials about Angular, ReactJS, PHP, MySQL and Web Development
Showing posts with label ionic. Show all posts
Saturday, December 19, 2020

Upload Files from Ionic Angular to Firebase Storage.

Nowadays Google Firebase is my most favorite application. This is offering great web solutions like hosting, authentication, storage and database in a simple way. This article explains how to upload images(supports video) into Firebase storage with Ionic and Angular applications. This covers the user authentication part to protect storage uploads and improving default Firebase security rules. Take a look at the quick demo and try to upload under 1 mb JPEG or PNG.

Publish an Ionic Android App to Google Play Store

Wednesday, October 28, 2020

Publish an Ionic Android App to Google Play Store.

Ionic is a great component framework that can build both iOS and Android apps from the same source code using Capacitor. In this video I have explained how to generate a signed Android release APK version using Ionic application and publishing on Google play store. For this process you need a Google play console subscription that costs $25 for life time. Please try to download the 9lessons demo Android app for testing.

Publish an Ionic Android App to Google Play Store

Tuesday, March 10, 2020

Event Emitters Component Interactions in Angular Ionic

This article is more about understanding the Event Emitters in Angular and Ionic. Data flow is the most important when you build an application to communicate with components. Event Emitters will help you to even bind using @Input @Output decorators. Here is a simple example to display and update the user profile using Angular Event Emitters. For this demo I choose Ionic framework for better experience. Take a quick look at the live demo.

Event Emitters Component Interactions in Angular Ionic

Friday, November 01, 2019

New Ionic 5 Angular 8 Display, Update and Delete Records with RxJS

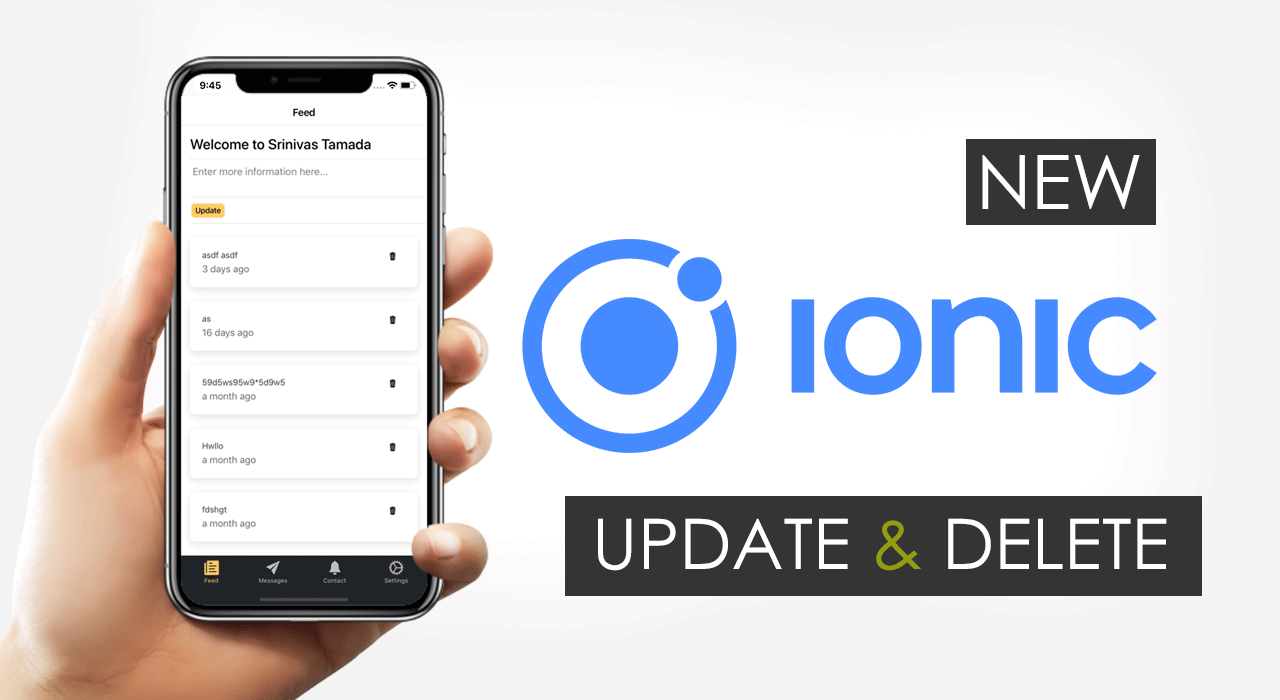
This post is about displaying the API records with delete and update actions using new Ionic and Angular reactive programming. This is a continuation of Ionic Angular series and it explains to you how to distribute the data between the components using RxJS method like BehaviorSubject. All of the feed API responses/records storing in a reactive object, This help the application DOM works seamlessly with update and delete operations. Implement this to your side project and enrich your applications.

New Ionic 5 Angular 8 Update and Delete Records with RxJS

Tuesday, September 10, 2019

Ionic 5 and Angular 8: Restful API User Authentication Login and Signup using Guard and Resolver

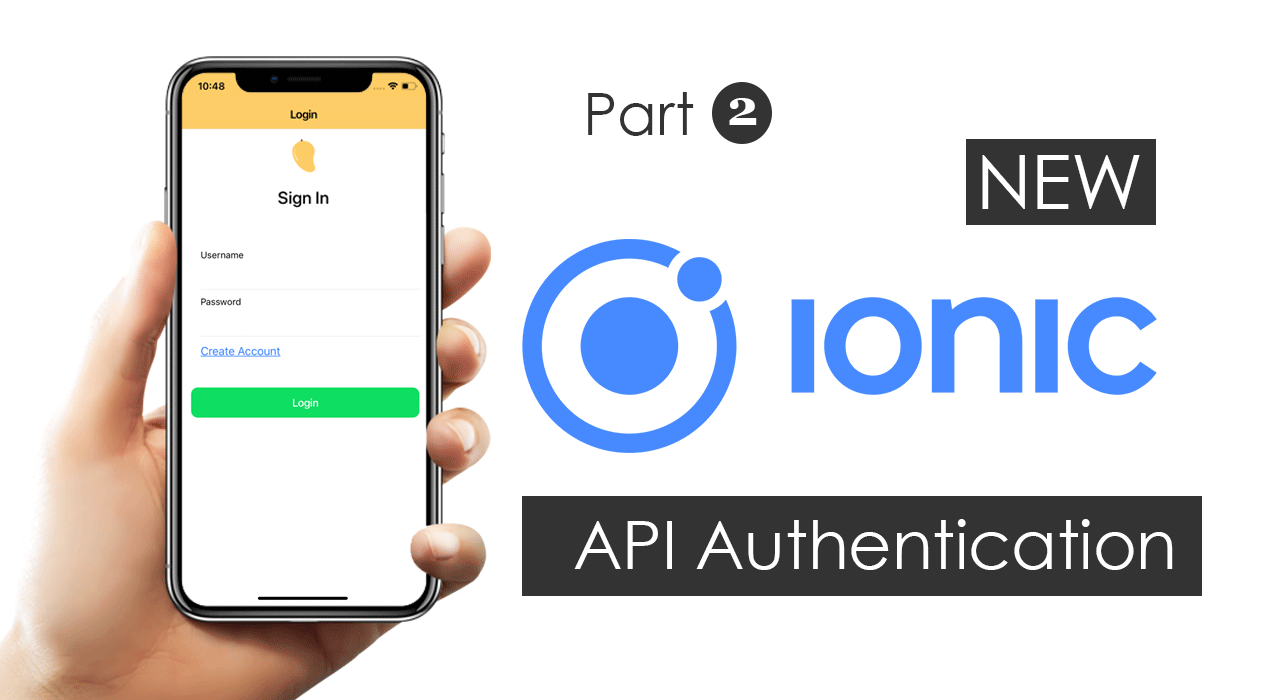
This is a continuation of my previous article creating an Ionic Angular project with welcome and tabs home page. Today’s post explains how to implement login authentication system for your Ionic Angular application with guards and resolvers. It will show you how to log in with a user and store the user data and protect the routes, so it deals with token-based authentication. Every user details will be stored in an external database and a PHP based API is used in the backend for handling this authentication.

Ionic 5 and Angular 8:Create a Welcome Page with Login and Logout.

Sunday, August 18, 2019

Ionic 5 and Angular 8: Create a Welcome Page with Tabs Home Pages.

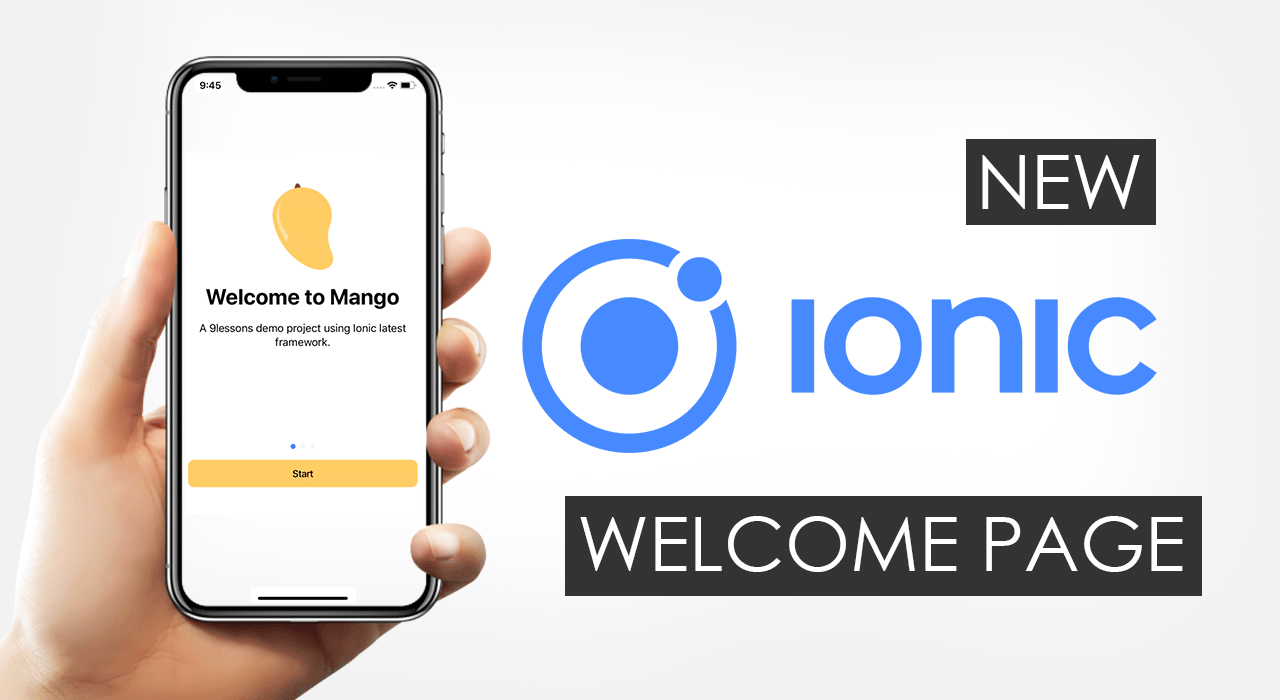
I received lots of tutorial requests from my readers in that most of them asked me, how to use Ionic 5 to create a welcome page with login and signup pages. Ionic updated there code base with latest Angular 8 features. Now we can implement the routes and guards pretty easy way. Ionic is recommending to use Capacitor to generate iOS and Android. This post will explain to you how to design an Ionic project structure with social project related pages like messages, feed, notifications, etc. Finally converting this web Ionic project to iOS and Android applications.

Ionic 5 and Angular 8:Create a Welcome Page with Login and Logout.

Sunday, May 19, 2019

Getting Started with Ionic React and Capacitor

Ionic is the most popular framework for Angular mobile application development. Now Ionic announced with React beta and Vue Js. This post is about getting started with Ionic React with Capacitor(Ionic Product). The Capacitor is a native bride for Cross-Platform for building universal applications. This blog post will explain how to set up a react project using Ionic mobile components and generating iOS, Android and Desktop(Electron framework build) applications.

Getting Started with Ionic React

Sunday, October 14, 2018

Ionic Electron Desktop App

Ionic has an excellent Angular framework for creating mobile applications for iOS and Android. Ionic team is planning to launch an update with Angular 6.0 version, right now Ionic 4.0 is in beta development. This post is about using ElectronJS for JavaScript based applications, using this you can convert an application into a Desktop application for MacOS, Windows and Linux. Take a look at this article and follow the steps to generate a desktop application for Ionic.

Angular  Route Guards with Child Components

Monday, August 13, 2018

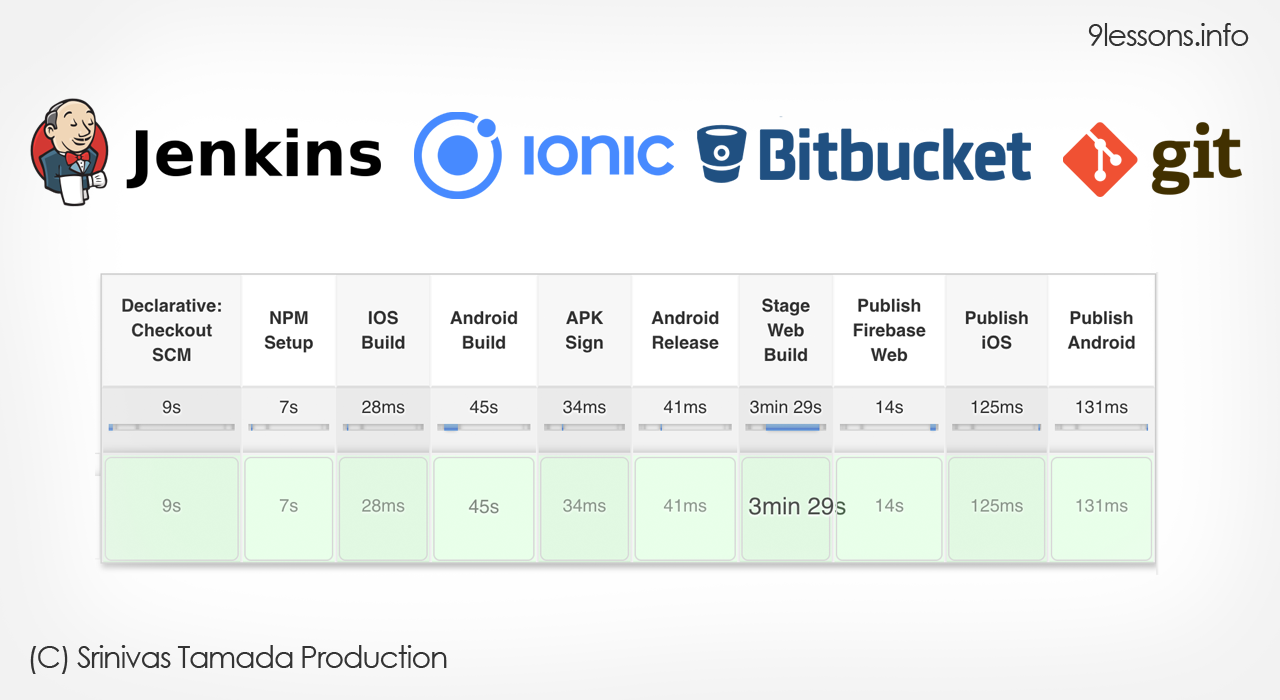
Jenkins Pipeline for Ionic and Angular with Github and Bitbucket

Ionic is one of the best mobile app development frameworks available in the market today. Most of the organizations in recent world are using Jenkins as a great tool for automating build processes, continuous integration and automated deployment. Jenkins helps organizations automate every aspect of the development and save the developers precious time. This post also demonstrates how to use GitHub and Bitbucket pipeline for continuous integration and deployment of Ionic app.

Jenkins Pipeline for Ionic with Bitbucket

Monday, December 25, 2017

Ionic Angular Lazy Loading with Child Components

We have already discussed few articles on Ionic. Latest Ionic 3 came up with lazy loading concepts. Changing Ionic apps to use lazy loading significantly boost up the app performance. This actually improves the app speed, instead of loading everything in root application module file. This allows doing the work in sync with when your users want it to happen. This article explains to you how to modify the existing default Ionic app and apply lazy load concepts like working with providers, shared/child components. It process by loading chunks of code such as child components when it’s requested not when the app is loaded. Use this feature and enrich your application. Watch the video, you understand it better.

Ionic Angular Lazy Loading with Child Components

Sunday, December 03, 2017

Ionic and Angular: Native Camera with Restful Upload.

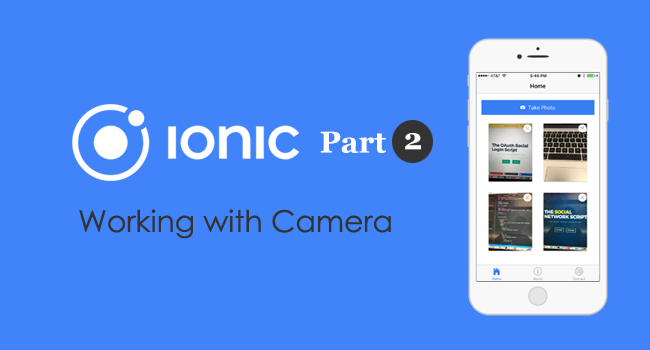
It is very simple to trigger any camera device and show the resulting output. This has been discussed in my article to take multiple photos with delete action using Ionic and AngularJS. Here is a problem. You can only see the image temporarily, since it has not been stored in any storage. Today’s article will explain to you how to store the captured image in a database, so that you can use it later. I’ll be using RESTful API to achieve this. Look into the demo below and also the code to see how to connect with RESTful API to store any captured image into a database.

Ionic and Angular: Using the Native Camera with Restful Upload.

Monday, November 13, 2017

Ionic and Angular: Infinite Scrolling with RESTful APIs

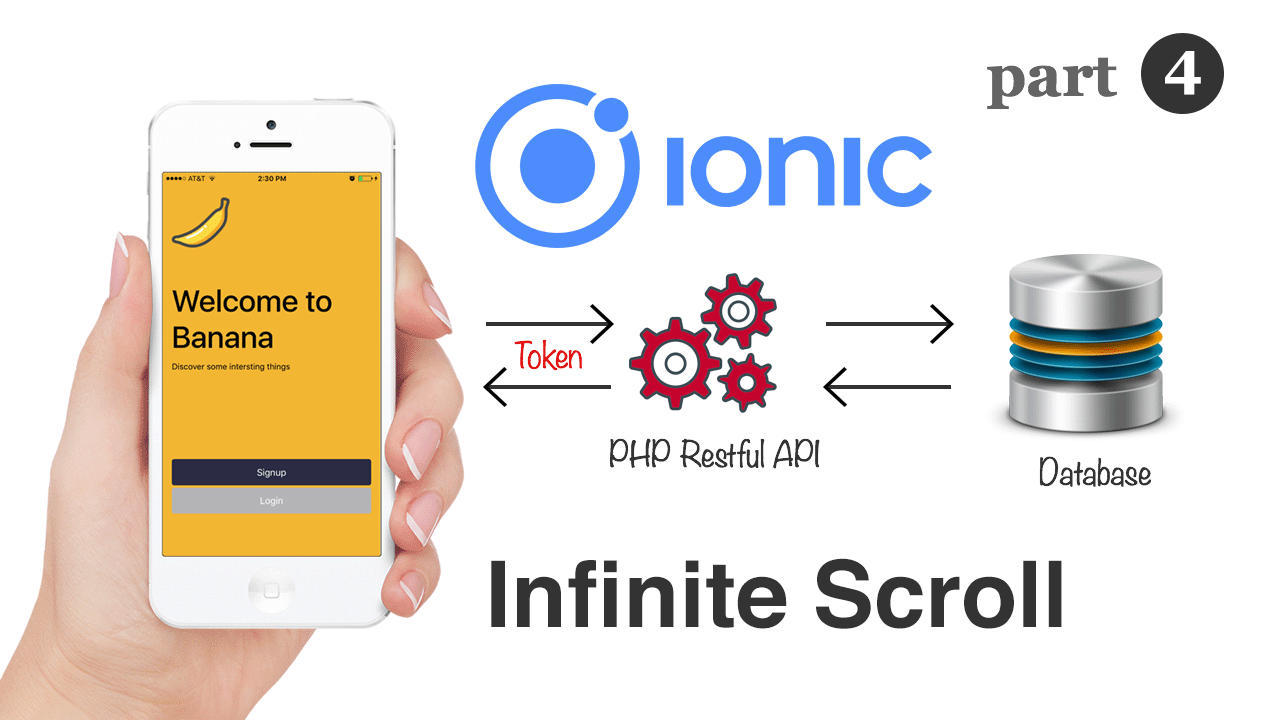
We have seen series of posts on developing a mobile application using Ionic and AngularJS. One of my previous articles which deal with insertion and deletion of posts using RESTful API. Similarly, today’s post makes use of RESTful API. These days, a single page web applications are most commonly used ones, because of which there is a need to show loads of data on the same page as we keep on scrolling. This infinite scrolling avoids pagination system.

Infinite Scrolling using Ionic and Angular with RESTful APIs

Monday, August 21, 2017

Ionic 3 and Angular 4: Insert and Delete with Token Based Restful API

This is the continued series of article on developing a mobile app with Ionic and Angular JS. This post deals with updating and deleting any post on the application. This also explains how to show the loading image by making an Ajax call. While deleting a post, it will show an alert message to confirm whether to delete or not. This post is all about this. Hope you all make use of this series of articles on Ionic and Angular to build your own mobile app.

Ionic 3 and Angular 4: Insert and Delete with Token Based Restful API

Tuesday, August 08, 2017

Ionic Split Pane with Login and Logout System.

I received a tutorial request from one of my blog readers to implement Ionic Split Pane with the login system. Ionic has been improving and releasing new desktop layout features. This post is an enhancement to my previous application. SplitPane is the new component introduced in Ionic 2.2.0. This targets to create apps of any screen size like desktops and tablets. With this, it is easy to show a side menu with side-by-side navigation controllers. Let’s see how we do this, and follow the demo below for more details.

Ionic 3 and Angular 4:Login and Signup with PHP Restful API.

Wednesday, July 12, 2017

Ionic 3 and Angular 4: JSON Parsing with Token Based Restful API

We have covered most of the topics in building a mobile application using Ionic 3 and Angular JS 4. Today’s topic is to pull in data for news feed from a server and display it on your website. This is suggestible post since it does proper verification at the backend based on token. All it does is, it will verify system token and user token at the backend and then pulls data using feed API url. I have also added an extra code to the previous post for login authentication with PHP Restful API for showing alert messages. Please do follow the below video and code for your understanding.

Ionic 3 and Angular 4:Login and Signup with PHP Restful API.

Wednesday, June 28, 2017

Ionic 3 and Angular 4: Adding Custom Fonts like Open Sans and Font Awesome.

We all know that Ionic is the useful framework for building HTML 5 mobile applications. It is mainly designed for the front end. When it comes to look and feel of the Ionic website, you have to work more on your application branding standards. Ionic default icons are not up to current market standards. This tutorial is all about how to add custom downloaded fonts like open sans and font awesome for icons into the Ionic application. Let’s see how you use customized fonts in your Ionic website.

Ionic 3 and Angular 4:Create a Welcome Page with Login and Logout.

Thursday, June 22, 2017

Ionic 3 and Angular 4: PHP Restful API User Authentication for Login and Signup.

Here is the continued article on my previous post for creating a welcome page with login and logout. Today’s post explains how to implement login authentication system for your AngularJS applications. It will show you how to log in with a user and store the user session, so it deals with token based authentication. Since we are using token based authentication, it protects if any unauthorized request is made and notices for a new login if required. This makes your application’s authentication to be more secured compared with any other authentication system. Every user details will be stored in an external database and a PHP based API is used in the backend for handling this authentication. Hope you’ll find it more easily using this as your authentication system in your AngularJS projects. Let’s look into the live demo and follow the below code.

Ionic 3 and Angular 4:Login and Signup with PHP Restful API.

Monday, June 12, 2017

Ionic 3 and Angular 4:Create a Welcome Page with Login and Logout.

Most of the mobile applications starts with welcome page with login and signup buttons. A proper login or signup redirects to application home page and there you can navigate to different pages and finally you can end up with a logout action. Today’s tutorial is all about this. Here I am using AngularJS 4 and Ionic 3. The combination of AngularJS and Ionic in handling login is a straight forward process. This design is already explained in my previous posts using ReactJS navigations. Lets see how to set a starting page using Ionic 3 and AngularJS4 and learn basic understanding of how the navigation works.

Ionic 3 and Angular 4:Create a Welcome Page with Login and Logout.

Wednesday, April 19, 2017

Ionic 3 and Angular 4: Working with Signature Pad.

This tutorial explains how to upgrade to Ionic 3 and Angular 4 and how to use signature pad for your application. If you are working with some agreement related project or something which needs some written proof from the customers, we might in need of a signature pad. The combination of Ionic 3 and Angular 4 provides some better features to achieve signature pad. This will allow you to sign/draw something on the application and save that image as data on the screen. Using this tutorial, you can also make a signature pad with Ionic 2 and Angular 3. Why late? Let’s start this small, but most commonly used task in your application.

Ionic 2 and Angular 2: Using the Native Camera

Friday, April 07, 2017

Ionic 3 and Angular 2: Using the Native Camera, Take Multiple Photos with Delete Action.

Are you searching for easy camera access for taking multiple pictures in your mobile application? Then here is the post explaining on how to access camera and take pictures. In most recent days, this is achieved easily with the combination of Ionic framework and AngularJS. We have already discussed in my previous article, how easy it is to use pre-built it in components of Ionic with AngularJS and build awesome mobile apps. Today’s article explains Cordova plugin provided by Ionic framework to access camera , take picture and see the output. The most exciting thing about this article is, it explains you to upload multiple images you take in camera. Let’s follow the article and also the video tutorial on this.

Ionic 2 and Angular 2: Using the Native Camera

mailxengine Youtueb channel
Make in India
X