This is again the continued post on React Native series. This post explains routing and navigation to different tabs in an application using React Native. Navigation is all about how the user can access possible sequences of pages in a web application. Routing is the encoding and decoding of URLs used in the application. Routing is supported by some set of rules. Each application must provide defined set of rules. Once the routing rules are defined, we can use the URLs containing view names and their parameters to navigate to different pages/tabs in the application.

Navigation to multiple pages available in a single page application is easily achieved using React Native. React Native also allows you to view multiple pages with different color background in the same application. Let’s follow the demo and tutorial for page navigation and routing using React Native.
Video Tutorial - React Native Router Navigations
Create Pages
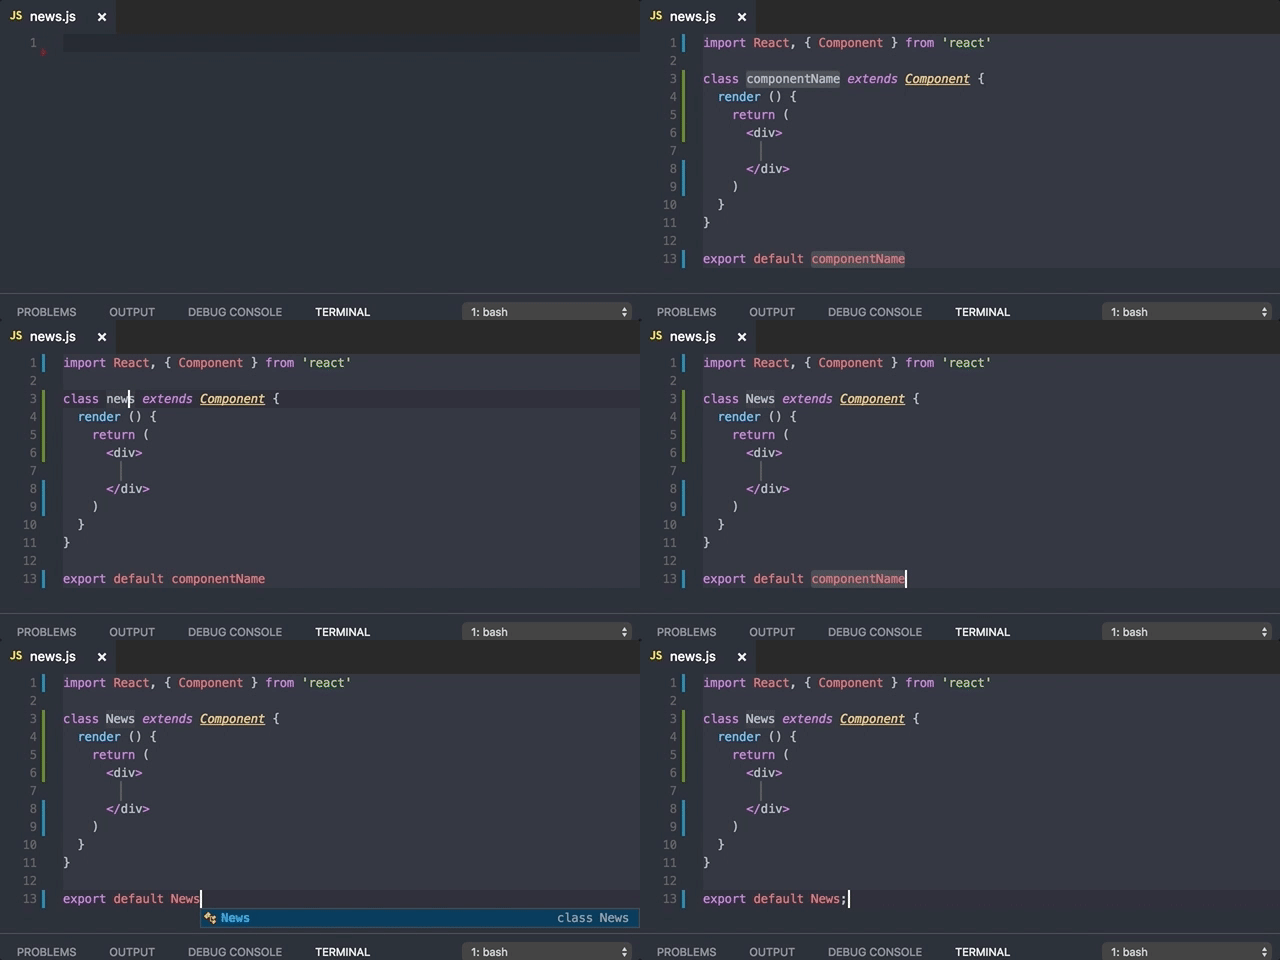
Create a new folder pages under src->components. Now create components about.js and news.js for the about and news pages.

about.js
This is the component structure for about page. Here content is taken from "native-base"
import React, {Component} from 'react';
import {Text} from 'react-native';
import {Content} from 'native-base';
export default class About extends Component {
constructor() {
}
render() {
return (
<Content>
</Content>
);
}
}
module.export = About;
import {Text} from 'react-native';
import {Content} from 'native-base';
export default class About extends Component {
constructor() {
}
render() {
return (
<Content>
</Content>
);
}
}
module.export = About;
news.js
Follow the below code for creating news component.

Install Router Package
Follow this command for installing routing package. Make sure to restart the react native server.
$ npm install react-native-router-flux --save
index.ios.js
Import about and news page to indes.ios.js. Also import router from react-native-router-flux. Inside the router tage mention all components you are using. Here appBody refers to feed component, you can rename appBody to feed.
import React, {Component} from 'react';
import {AppRegistry, View, Text} from 'react-native';
import {Container, StyleProvider, Header, Left, Right, Icon, Button, Body} from 'native-base';
import getTheme from './src/themes/components';
import nineLessons from './src/themes/variables/nineLessons';
import AppHeader from './src/components/appHeader';
import AppFooter from './src/components/appFooter';
import appBody from './src/components/appBody';
import News from './src/components/pages/news';
import About from './src/components/pages/about';
import {Router, Scene} from 'react-native-router-flux';
export default class ReactNativeBlogApp extends Component {
render() {
return (
<StyleProvider style={getTheme(nineLessons)}>
<Container >
<Router>
<Scene key="root">
<Scene key="feed" component={appBody} title="Feed"/>
<Scene key="about" component={About} title="About"/>
<Scene key="news" component={News} title="News" />
</Scene>
</Router>
<AppFooter/>
</Container>
</StyleProvider>
);
}
}
AppRegistry.registerComponent('ReactNativeBlogApp', () => ReactNativeBlogApp);
appFooter.js
Inside appFooter.js, include all the components as tab buttons in the footer part of the application.
import React, {Component} from 'react';
import {Image, StyleSheet} from 'react-native';
import {Footer, FooterTab, Icon, Button, Text} from 'native-base';
import {Actions} from 'react-native-router-flux';
export default class AppFooter extends Component {
constructor() {
}
render() {
return (
<Footer>
<FooterTab>
<Button active onPress={Actions.feed}><Icon name="ios-egg"/>
<Text>Feed</Text>
</Button>
<Button onPress={Actions.news}><Icon name="paper"/>
<Text>News</Text>
</Button>
<Button onPress={Actions.about}><Icon name="contact"/>
<Text>About</Text>
</Button>
</FooterTab>
</Footer>
);
}
}
module.export = AppFooter;
Multiple Actions
Also include below code in appFooter.js. This method is called correspondingly as and when any of the tab button is pressed or activated.
tabAction(tab) {
if (tab === 'feed') {
Actions.feed();
} else if (tab === 'news') {
Actions.news();
} else {
Actions.about();
}
}
if (tab === 'feed') {
Actions.feed();
} else if (tab === 'news') {
Actions.news();
} else {
Actions.about();
}
}
Function Calling
Below is the line to be included for calling tabAction method by pressing any of the 3 tabs below in the footer.
<Button active onPress={() => {this.tabAction('feed')}}>
<Icon name="ios-egg"/>
<Text>Feed</Text>
</Button>
<Icon name="ios-egg"/>
<Text>Feed</Text>
</Button>
Working with Active Tab
Include this code in the constructor method for activating tab you pressed.
constructor() {
super();
this.state = {
activeTabName: 'feed'
};
}
super();
this.state = {
activeTabName: 'feed'
};
}
Binding state value
The code below is to trigger the tab action we select.
<Button active={(this.state.activeTabName === "feed")? true: ""}
onPress={() => {this.tabAction('feed')}}>
<Icon name="ios-egg"/>
<Text>Feed</Text>
</Button>
onPress={() => {this.tabAction('feed')}}>
<Icon name="ios-egg"/>
<Text>Feed</Text>
</Button>
Final Code
Here is the final code for navigating to different pages using react native.
import React, {Component} from 'react';
import {Image, StyleSheet} from 'react-native';
import {Footer, FooterTab, Icon, Button, Text} from 'native-base';
import {Actions} from 'react-native-router-flux';
export default class AppFooter extends Component {
constructor() {
super();
this.state = {
activeTabName: 'feed'
};
}
tabAction(tab) {
this.setState({activeTabName: tab});
if (tab === 'feed') {
Actions.feed();
} else if (tab === 'news') {
Actions.news();
} else {
Actions.about();
}
}
render() {
return (
<Footer>
<FooterTab>
<Button
active={(this.state.activeTabName === "feed")? true: ""}
onPress={() => {this.tabAction('feed')}}>
<Icon name="ios-egg"/>
<Text>Feed</Text>
</Button>
<Button
active={(this.state.activeTabName === "news")? true: ""}
onPress ={() => {this.tabAction('news')}}>
<Icon name="paper"/>
<Text>News</Text>
</Button>
<Button
active={(this.state.activeTabName === "about")? true: ""}
onPress ={() => {this.tabAction('about')}}>
<Icon name="contact"/>
<Text>About</Text>
</Button>
</FooterTab>
</Footer>
);
}
}
module.export = AppFooter;
Video Tutorial - React Native Router Navigations


its very nice and simple guide tutorial for me. Thanks
ReplyDeletehello Srinivas, please can do do a tutorial on ionic 2 with sqlite?
ReplyDeletehttps://github.com/skv-headless/react-native-scrollable-tab-view . Can we implement flux in this too??
ReplyDeleteThanks for this great Explanation..Really Helpful.
ReplyDeleteAfter run app on androi then error
ReplyDeleteon file src/components/page/feedData.js
with error is:
{articleData.thr$total.$t} Comments
http://prntscr.com/feic2q
Please, help me fix it. thank admin
Please create a php + react native login,register , thank you
ReplyDeleteNice Post
ReplyDeleteit very good and awesome article for me for starting project on react native,
ReplyDeleteBut i need help for you, i am little bit stuck in ssl handling in react native for android, if is there way like ios to ignore ssl in android please let me know
pleas do a rn login and signup with oauth and pure php , thanks
ReplyDeleteunderstandable article thanks for giving us
ReplyDeleteThese video I really enjoy, So could you share video use library react-navigation if possible.
ReplyDeletethks nice tutorial
ReplyDeleteHi amazing tuts.
ReplyDeletecan you make tuts on state management like redux and mobx
hi shrinivas.
ReplyDeletenice blog keep going...
Huge life saver.
ReplyDeleteThanks for this tutorial