Ionic is a great component framework that can build both iOS and Android apps from the same source code using Capacitor. In this video I have explained how to generate a signed Android release APK version using Ionic application and publishing on Google play store. For this process you need a Google play console subscription that costs $25 for life time. Please try to download the 9lessons demo Android app for testing.
Showing posts with label android. Show all posts
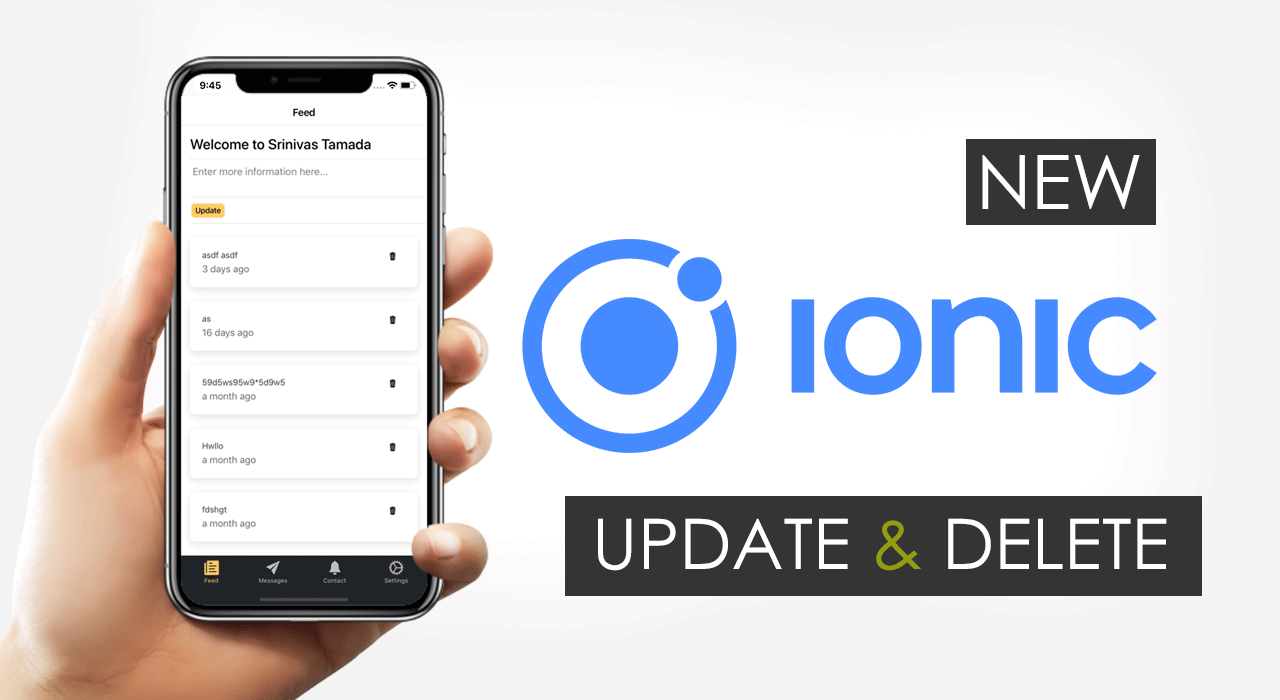
New Ionic 5 Angular 8 Display, Update and Delete Records with RxJS
This post is about displaying the API records with delete and update actions using new Ionic and Angular reactive programming. This is a continuation of Ionic Angular series and it explains to you how to distribute the data between the components using RxJS method like BehaviorSubject. All of the feed API responses/records storing in a reactive object, This help the application DOM works seamlessly with update and delete operations. Implement this to your side project and enrich your applications.
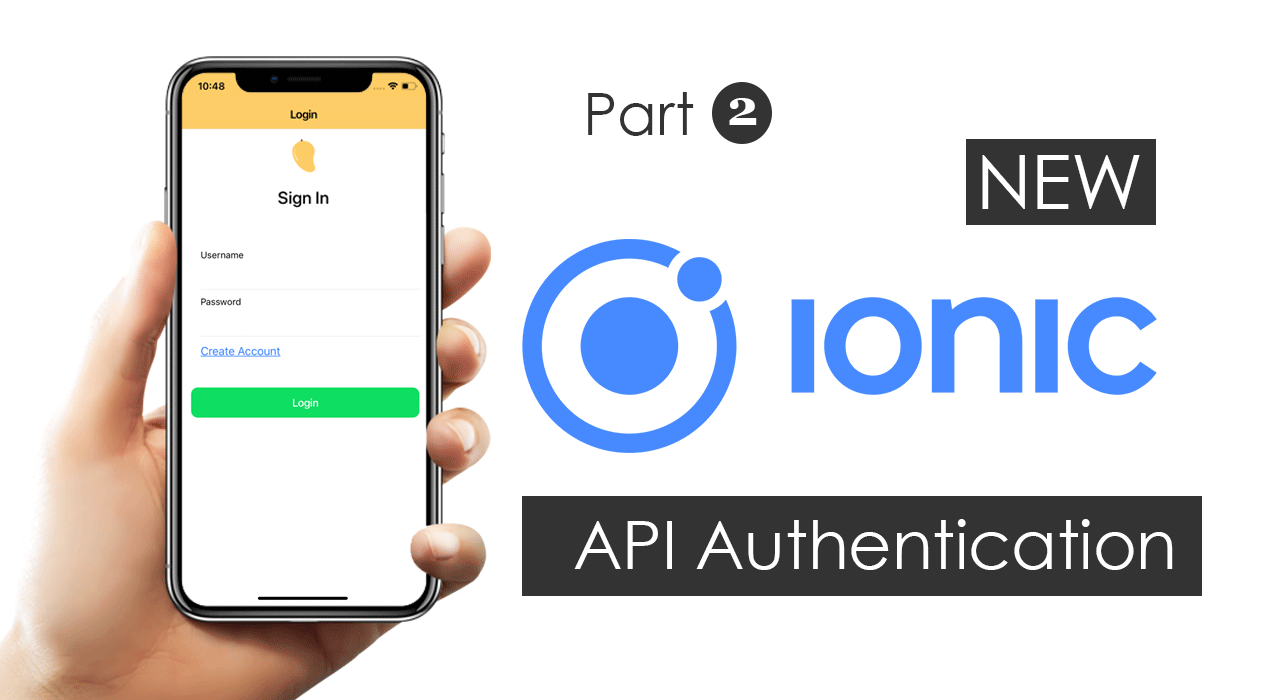
Ionic 5 and Angular 8: Restful API User Authentication Login and Signup using Guard and Resolver
This is a continuation of my previous article creating an Ionic Angular project with welcome and tabs home page. Today’s post explains how to implement login authentication system for your Ionic Angular application with guards and resolvers. It will show you how to log in with a user and store the user data and protect the routes, so it deals with token-based authentication. Every user details will be stored in an external database and a PHP based API is used in the backend for handling this authentication.
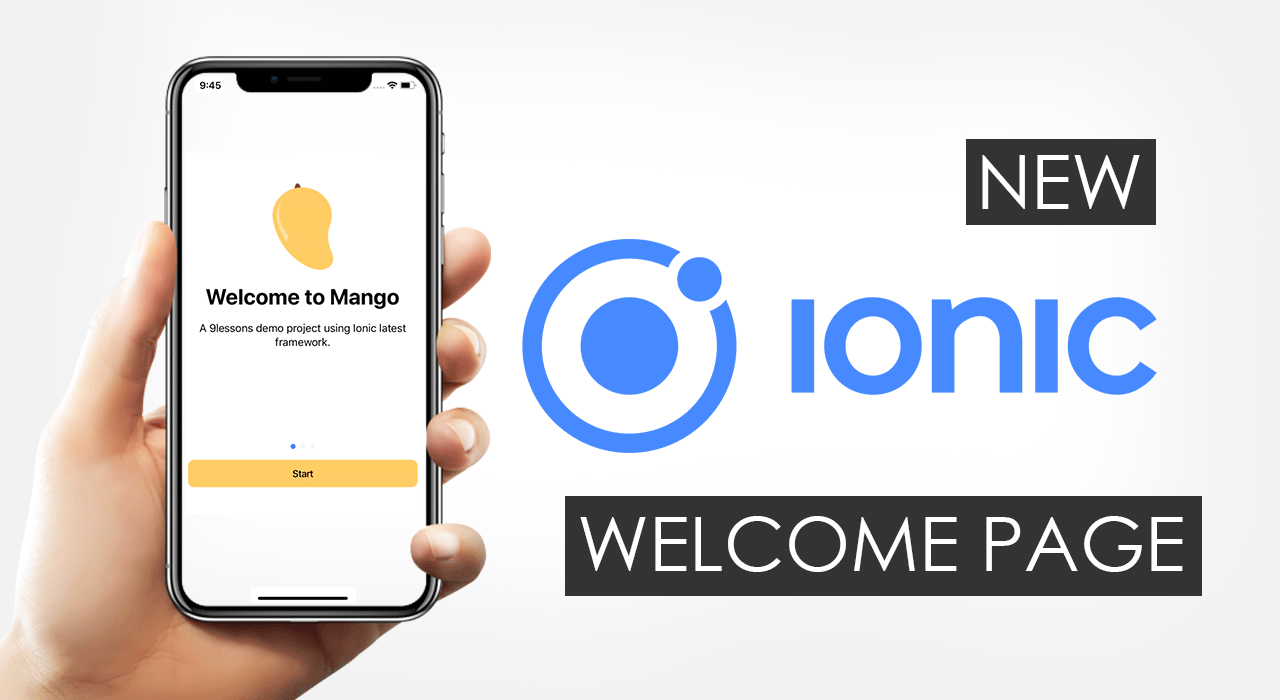
Ionic 5 and Angular 8: Create a Welcome Page with Tabs Home Pages.
I received lots of tutorial requests from my readers in that most of them asked me, how to use Ionic 5 to create a welcome page with login and signup pages. Ionic updated there code base with latest Angular 8 features. Now we can implement the routes and guards pretty easy way. Ionic is recommending to use Capacitor to generate iOS and Android. This post will explain to you how to design an Ionic project structure with social project related pages like messages, feed, notifications, etc. Finally converting this web Ionic project to iOS and Android applications.
Getting Started with Ionic React and Capacitor
Ionic is the most popular framework for Angular mobile application development. Now Ionic announced with React beta and Vue Js. This post is about getting started with Ionic React with Capacitor(Ionic Product). The Capacitor is a native bride for Cross-Platform for building universal applications. This blog post will explain how to set up a react project using Ionic mobile components and generating iOS, Android and Desktop(Electron framework build) applications.
Ionic 3 and Angular 4: Insert and Delete with Token Based Restful API
This is the continued series of article on developing a mobile app with Ionic and Angular JS. This post deals with updating and deleting any post on the application. This also explains how to show the loading image by making an Ajax call. While deleting a post, it will show an alert message to confirm whether to delete or not. This post is all about this. Hope you all make use of this series of articles on Ionic and Angular to build your own mobile app.
Ionic Split Pane with Login and Logout System.
I received a tutorial request from one of my blog readers to implement Ionic Split Pane with the login system. Ionic has been improving and releasing new desktop layout features. This post is an enhancement to my previous application. SplitPane is the new component introduced in Ionic 2.2.0. This targets to create apps of any screen size like desktops and tablets. With this, it is easy to show a side menu with side-by-side navigation controllers. Let’s see how we do this, and follow the demo below for more details.
Ionic 3 and Angular 4: JSON Parsing with Token Based Restful API
We have covered most of the topics in building a mobile application using Ionic 3 and Angular JS 4. Today’s topic is to pull in data for news feed from a server and display it on your website. This is suggestible post since it does proper verification at the backend based on token. All it does is, it will verify system token and user token at the backend and then pulls data using feed API url. I have also added an extra code to the previous post for login authentication with PHP Restful API for showing alert messages. Please do follow the below video and code for your understanding.
Ionic 3 and Angular 4: Adding Custom Fonts like Open Sans and Font Awesome.
We all know that Ionic is the useful framework for building HTML 5 mobile applications. It is mainly designed for the front end. When it comes to look and feel of the Ionic website, you have to work more on your application branding standards. Ionic default icons are not up to current market standards. This tutorial is all about how to add custom downloaded fonts like open sans and font awesome for icons into the Ionic application. Let’s see how you use customized fonts in your Ionic website.
Ionic 3 and Angular 4: PHP Restful API User Authentication for Login and Signup.
Here is the continued article on my previous post for creating a welcome page with login and logout. Today’s post explains how to implement login authentication system for your AngularJS applications. It will show you how to log in with a user and store the user session, so it deals with token based authentication. Since we are using token based authentication, it protects if any unauthorized request is made and notices for a new login if required. This makes your application’s authentication to be more secured compared with any other authentication system. Every user details will be stored in an external database and a PHP based API is used in the backend for handling this authentication. Hope you’ll find it more easily using this as your authentication system in your AngularJS projects. Let’s look into the live demo and follow the below code.
Ionic 3 and Angular 4:Create a Welcome Page with Login and Logout.
Most of the mobile applications starts with welcome page with login and signup buttons. A proper login or signup redirects to application home page and there you can navigate to different pages and finally you can end up with a logout action. Today’s tutorial is all about this. Here I am using AngularJS 4 and Ionic 3. The combination of AngularJS and Ionic in handling login is a straight forward process. This design is already explained in my previous posts using ReactJS navigations. Lets see how to set a starting page using Ionic 3 and AngularJS4 and learn basic understanding of how the navigation works.
React Native Router Navigations - Tutorial Part 3
This is again the continued post on React Native series. This post explains routing and navigation to different tabs in an application using React Native. Navigation is all about how the user can access possible sequences of pages in a web application. Routing is the encoding and decoding of URLs used in the application. Routing is supported by some set of rules. Each application must provide defined set of rules. Once the routing rules are defined, we can use the URLs containing view names and their parameters to navigate to different pages/tabs in the application.
Ionic 3 and Angular 4: Working with Signature Pad.
This tutorial explains how to upgrade to Ionic 3 and Angular 4 and how to use signature pad for your application. If you are working with some agreement related project or something which needs some written proof from the customers, we might in need of a signature pad. The combination of Ionic 3 and Angular 4 provides some better features to achieve signature pad. This will allow you to sign/draw something on the application and save that image as data on the screen. Using this tutorial, you can also make a signature pad with Ionic 2 and Angular 3. Why late? Let’s start this small, but most commonly used task in your application.
Ionic 3 and Angular 2: Using the Native Camera, Take Multiple Photos with Delete Action.
Are you searching for easy camera access for taking multiple pictures in your mobile application? Then here is the post explaining on how to access camera and take pictures. In most recent days, this is achieved easily with the combination of Ionic framework and AngularJS. We have already discussed in my previous article, how easy it is to use pre-built it in components of Ionic with AngularJS and build awesome mobile apps. Today’s article explains Cordova plugin provided by Ionic framework to access camera , take picture and see the output. The most exciting thing about this article is, it explains you to upload multiple images you take in camera. Let’s follow the article and also the video tutorial on this.
React Native JSON Parsing and Helper Functions - Tutorial Part 2
This is the continuation of previous article Getting started with React Native Template Design – Tutorial Part I. Today’s article and video tutorial explains how to parse and render the json data using some of the best React Native packages. It explains how to make ajax calls using fetch. Fetch is the networking API, which is chosen by React Native to get the JSON data and render it in the page. I hope embedded videos with blog posts are more advantageous for you to learn. I appreciate to take any feedback if you have, so that I can make it better.
Getting Started with React Native Template Design - Tutorial Part 1
We always look for apps that are faster to develop and run, React Native is one such emerging framework. Being focused on mobile development; React Native is an open source framework from Facebook which can be run on multiple platforms and devices such as iOS and Android. React Native is a javascript library. You do not have to learn iOS’ Swift or Java for Android, all you need to know is Javascript. I am going to present series of articles on React Native. This article explains making of native mobile template using React Native. Today, I am introducing video tutorials on Youtube for an easy learning.
PixelPhone Enhance your Experience Getting Over the Default UI of your Android Smartphone
PixelPhone is an app for your Android device that replaces your default phone app to offer you a better experience. It has features that you don't usually get through your pre-installed phone & contact apps. Since its initiation some years back, the app has constantly refined and improved its features to better suit user's needs. Once you start using the app, you would not want to go back to the previous default version of your phone.
New Way to Download Free Apps - MoboMarket 3.0 Now Released
Today, android based smartphones are much more preferred over the Windows or iOS based phones. And one of the major aspects for this preference is the large number of amazing applications available in the Google Play Store which is the default marketplace for all the devices. However, today a very few people know that there are many other marketplaces other than the Play Store that offer you all the more amazing applications and games.
Manage Your Smartphone Easily with MoboRobo Now
Having a Smartphone is not a big deal nowadays. It has become so mainly due to availability of Smartphones that are suitable for different budgets. Although there are a number of exceptions, major issue of low-budget Smartphones is their lower screen size. Albeit the fact that you might not face issues while performing common tasks like listening to music and messaging on WhatsApp, the notable issues will be when you want to manage information in your device such as editing contacts, downloading applications massively, managing media files including videos and music etc.
MoboRobo Lets You Manage Your Android Smartphone & iPhone Never Like Before
Have you ever wished if you had a bigger screen for your Smartphone? Or, have you ever thought of integrating your Smartphone/Tablet PC to your computer so that you can simultaneously keep track of both these devices? If answer for both of these questions is ‘YES’, we hope it is your time to check out MoboRobo, which is an all-in-one solution to manage your Android Smartphones & iPhones! According to our experience, MoboRobo, the most useful tool for any Smartphone vendors, seemed to be a superb way to manage information in Android Smartphones [We used an Android Smartphone to understand MoboRobo], and it seems that each power-user of Android/iOS should check this completely free software for Windows PCs.