Google cloud platform is a cloud computing service and a perfect alternate for Amazon Webservices. Nowadays most of the top companies are moving towards Google services for better results. Google cloud platform is offering a $300 free trial for one year. This post is about how to set up VM instances with firewall rules in addition to creating a XAMPP server with Ubuntu operation system. This is almost similar to my previous article about the Amazon EC2 setup. Try this and enrich your side projects.

Getting started with Google Cloud Platform Free Tier
Step 1
Search for Google Cloud Free Tier
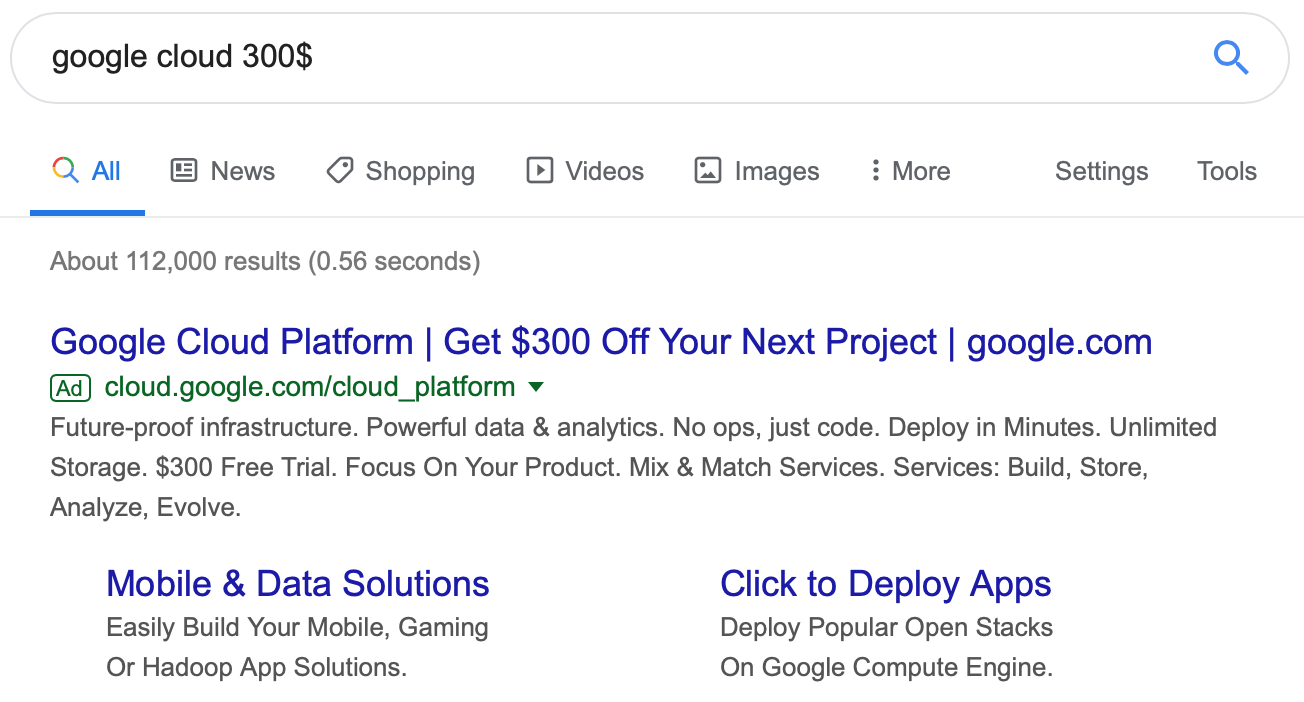
Video Tutorial
Step 2
Hit the Try Free button

$300 Credit for free

Step 3
Choose your country.
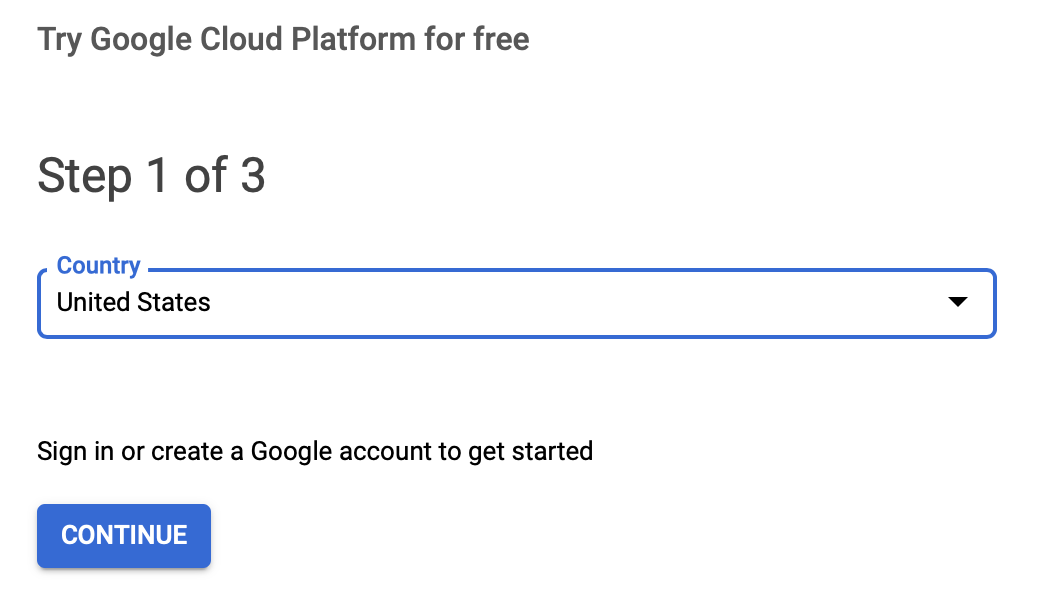
Step 4
Accept the terms
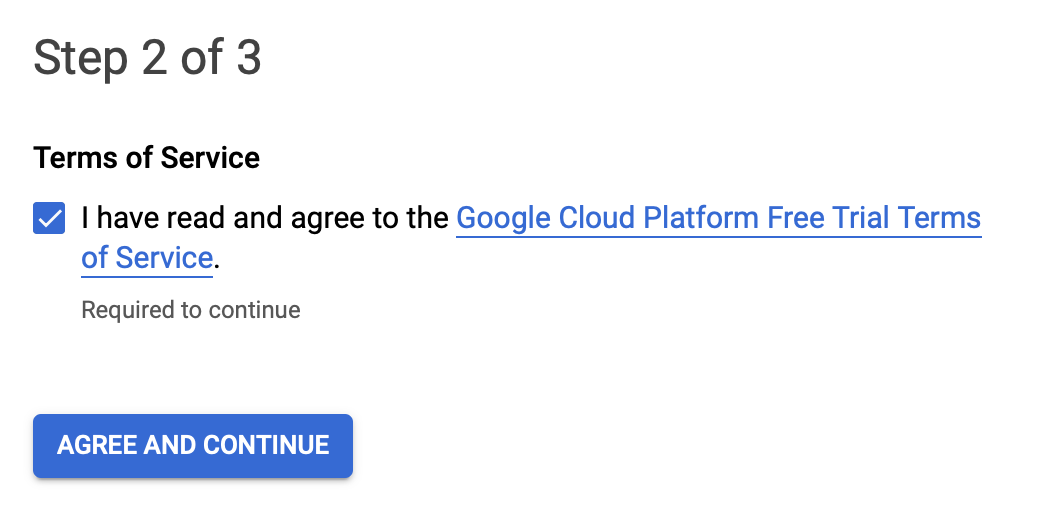
Step 5
Add the payment details. This will not charage, until one year free trial.
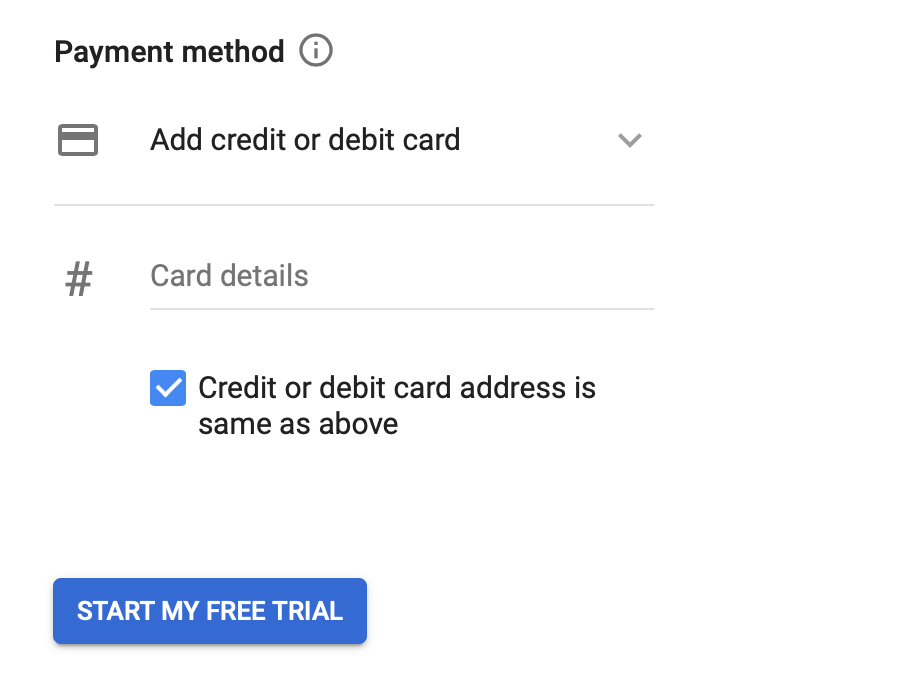
Step 6
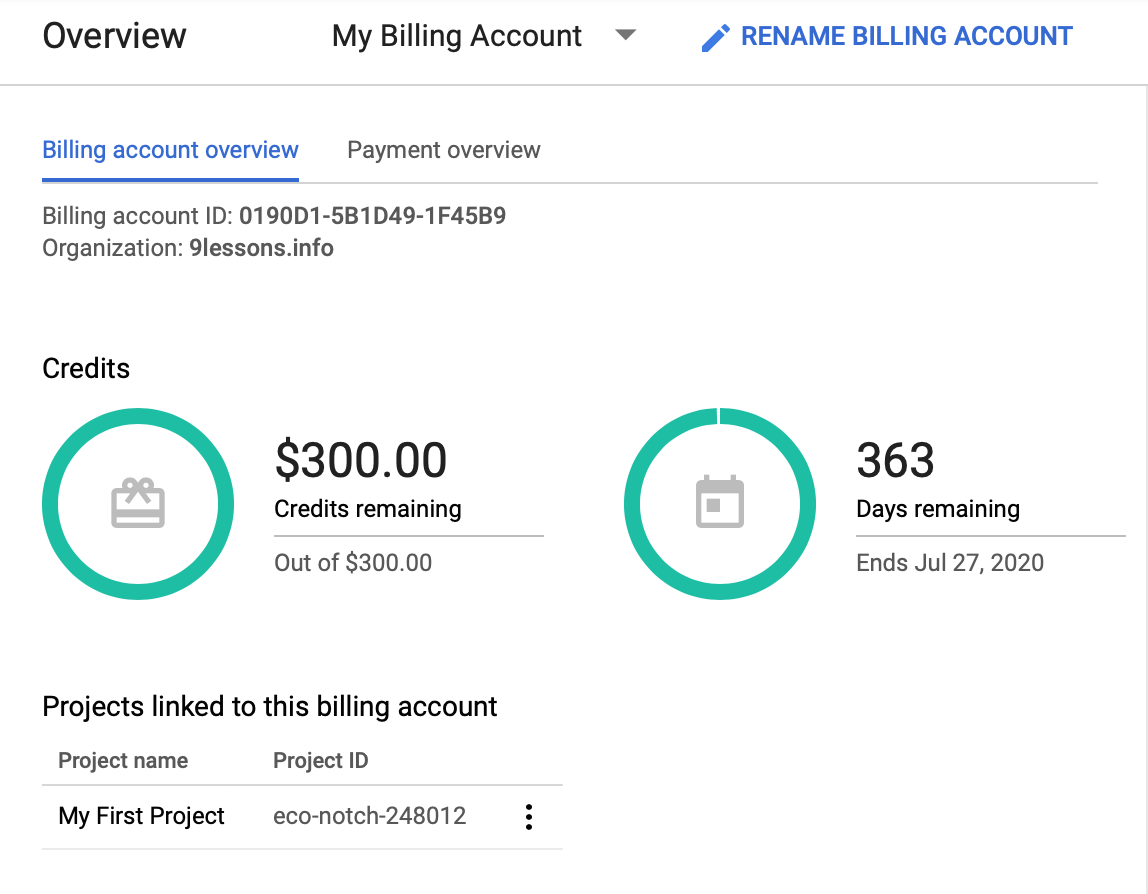
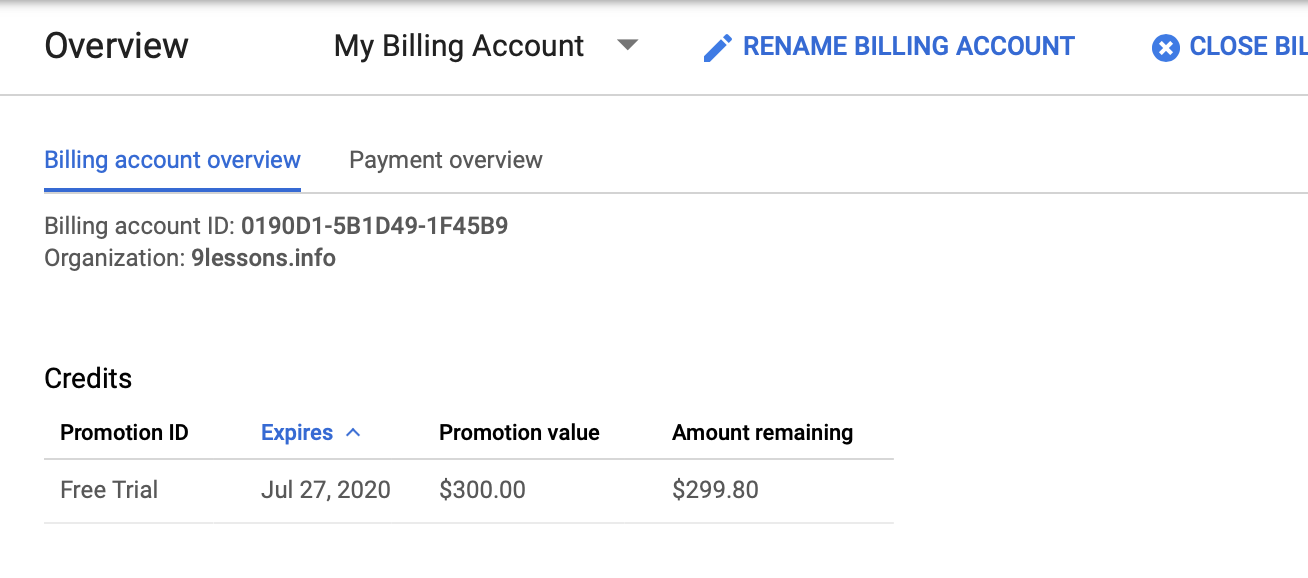
Go to Billing and cross verify the free tier detials.
Getting started with Google Cloud VM Instance
Step 1
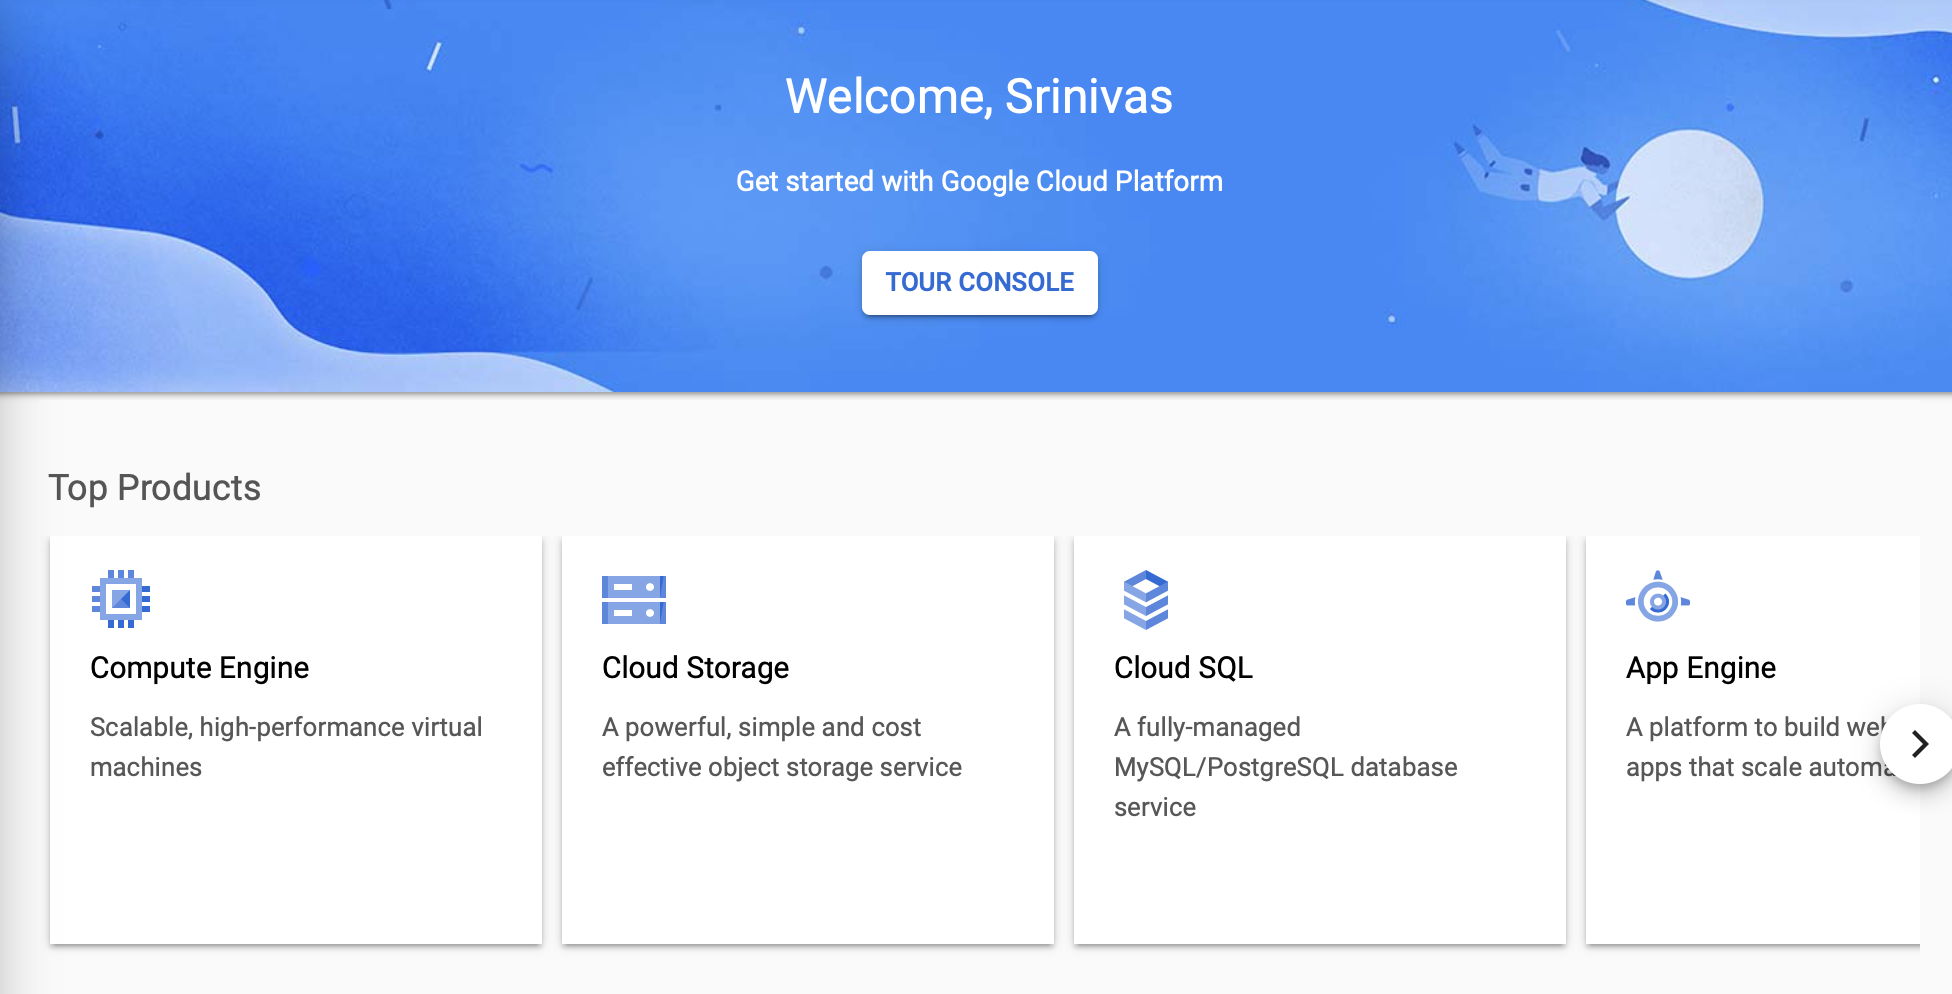
Google Cloud console for top product. Now selec the Computer Engine
Step 2
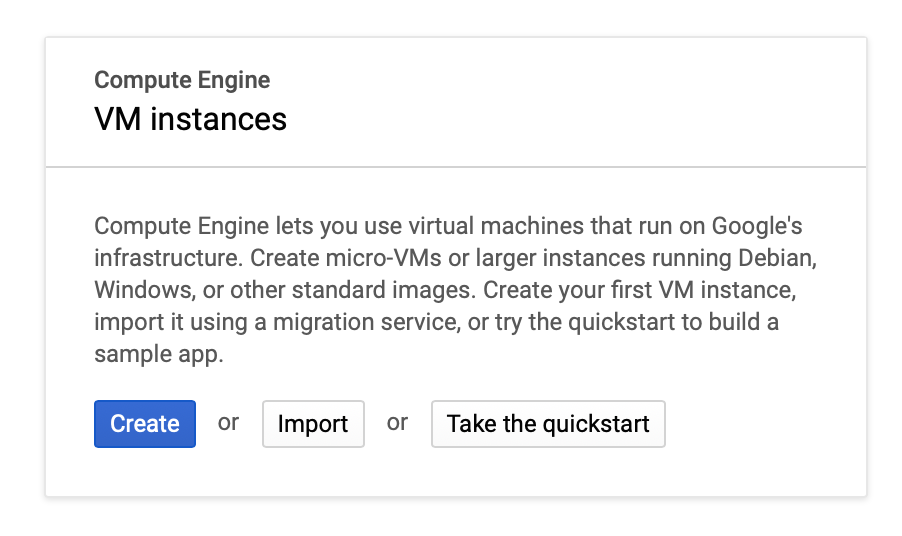
Create the VM instance.
Step 3
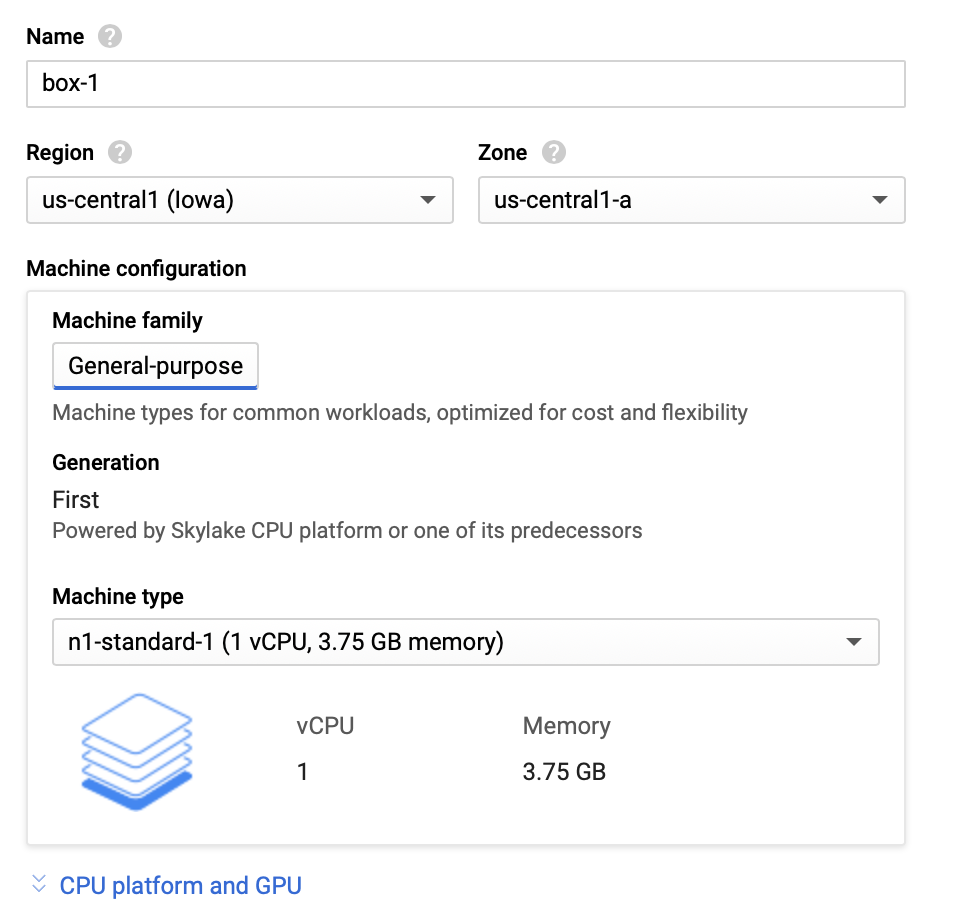
Here you have to provide the instance Name, Region and Zone. Machine type choose base on your need. I would suggest you to choose the standard(3.75 GB) or small(1.7 GB) memory instances.
Step 4
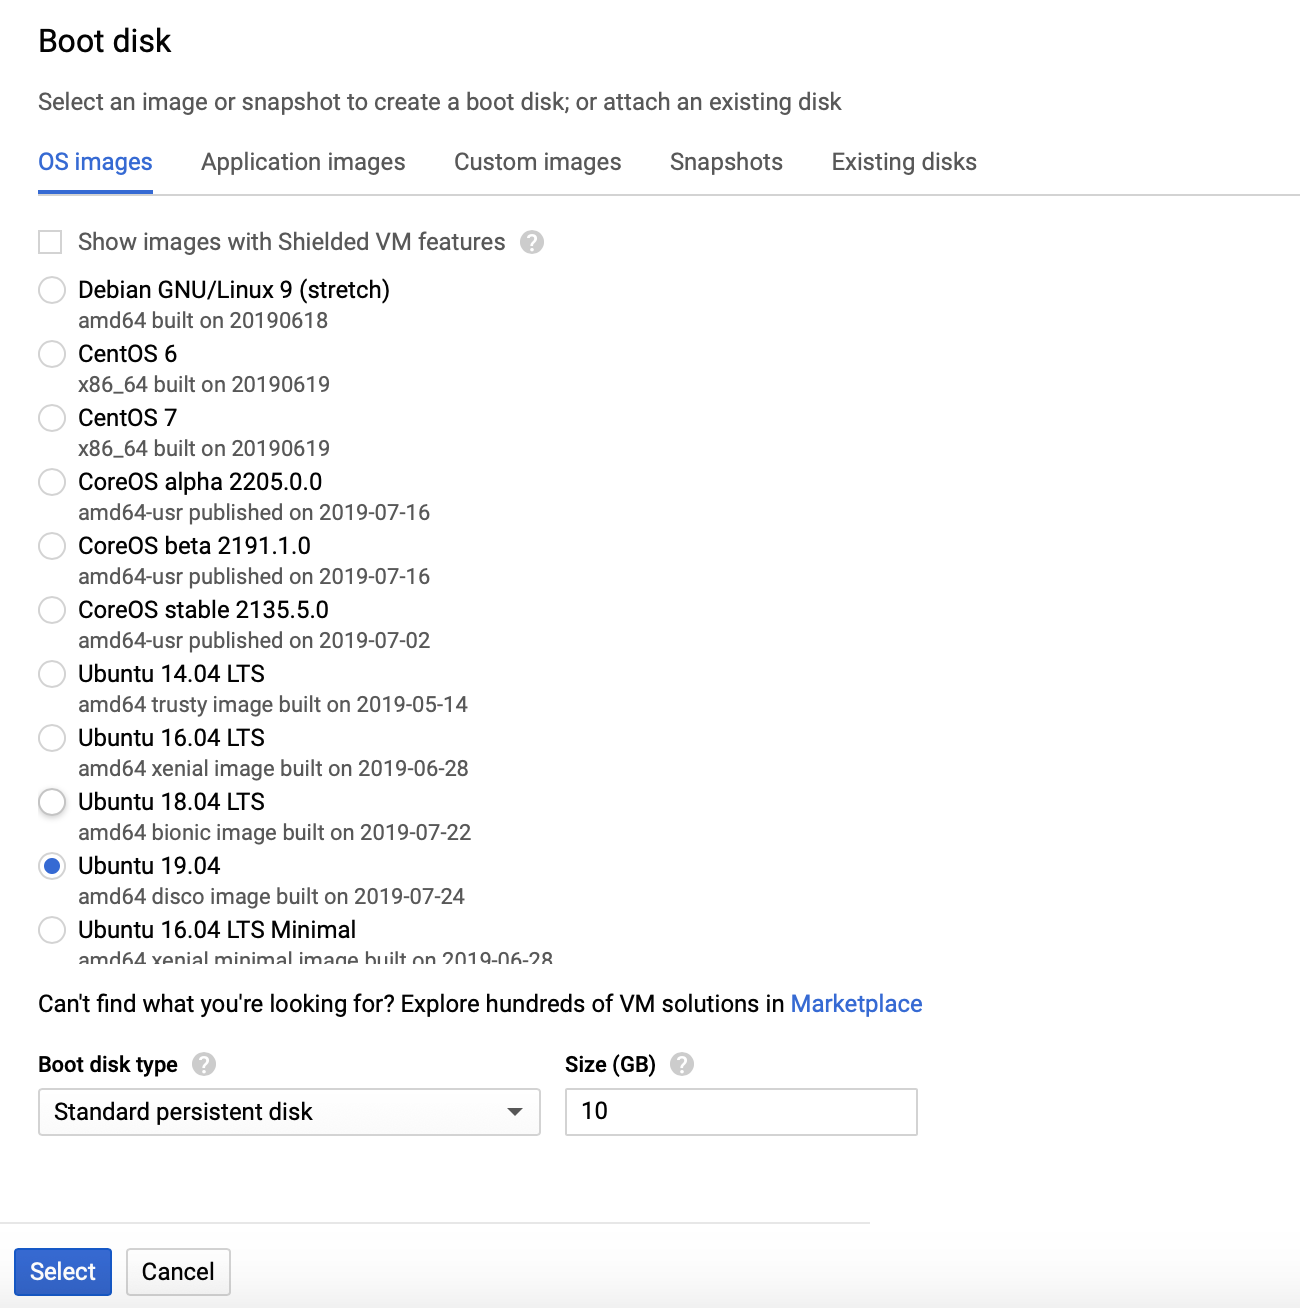
Choose The Operating System. This post is about Ubuntu stetup.
Step 5
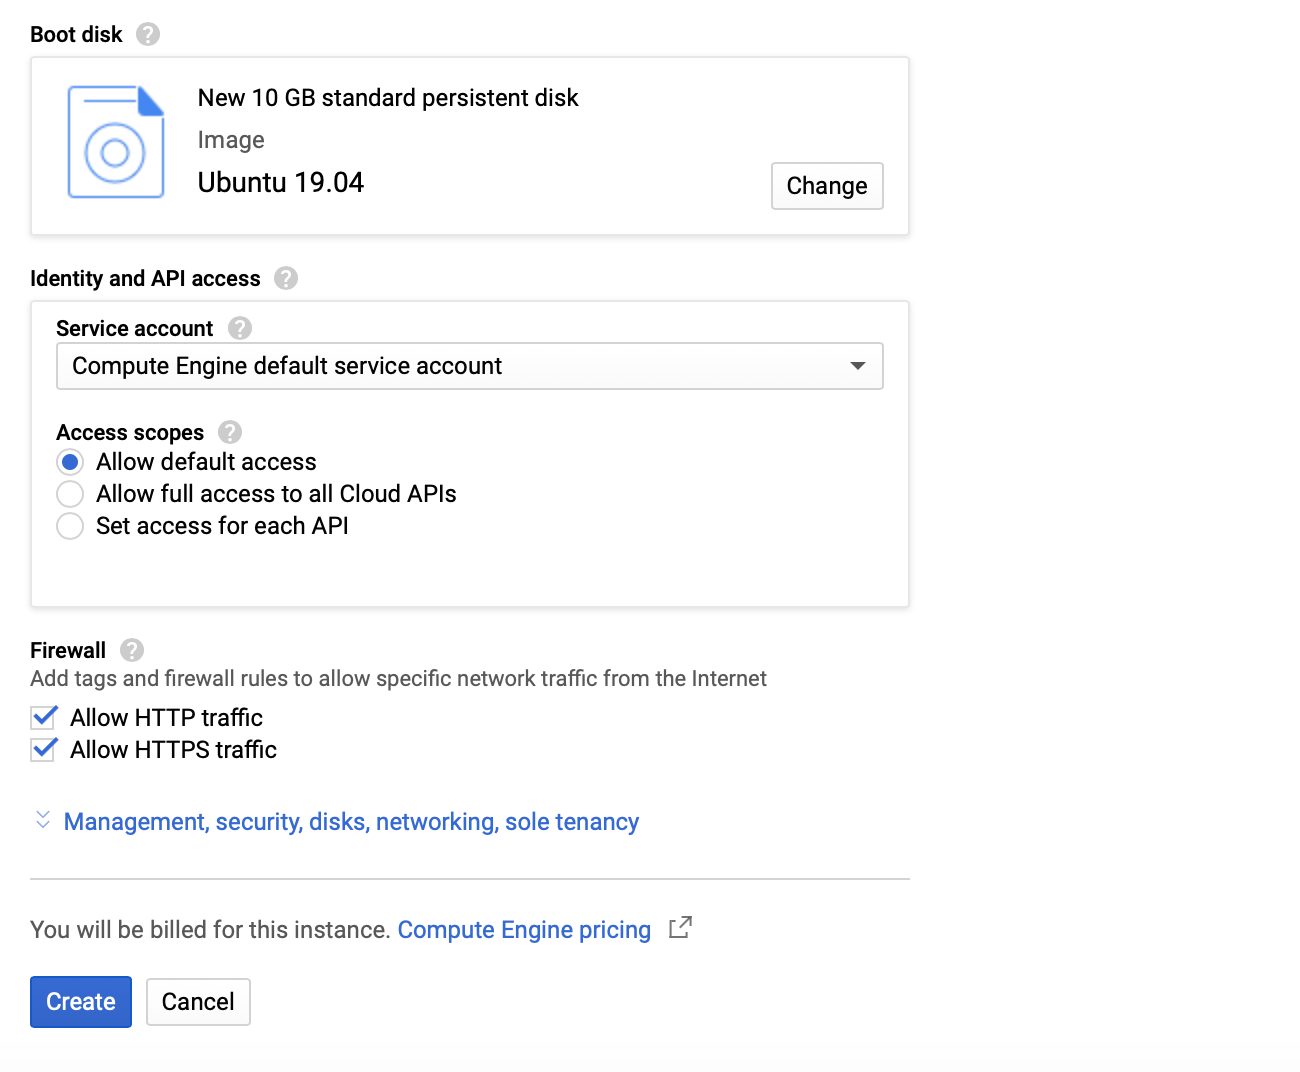
Firewall allow HTTP and HTTPs traffic and click the Create button.
Step 6
Instance has been created.

Google Cloud Static External IP Address
Default instance external IP address is not permanent. You have to reserve the static IP address for DNS(Domain Name Server) settings.
Step 1
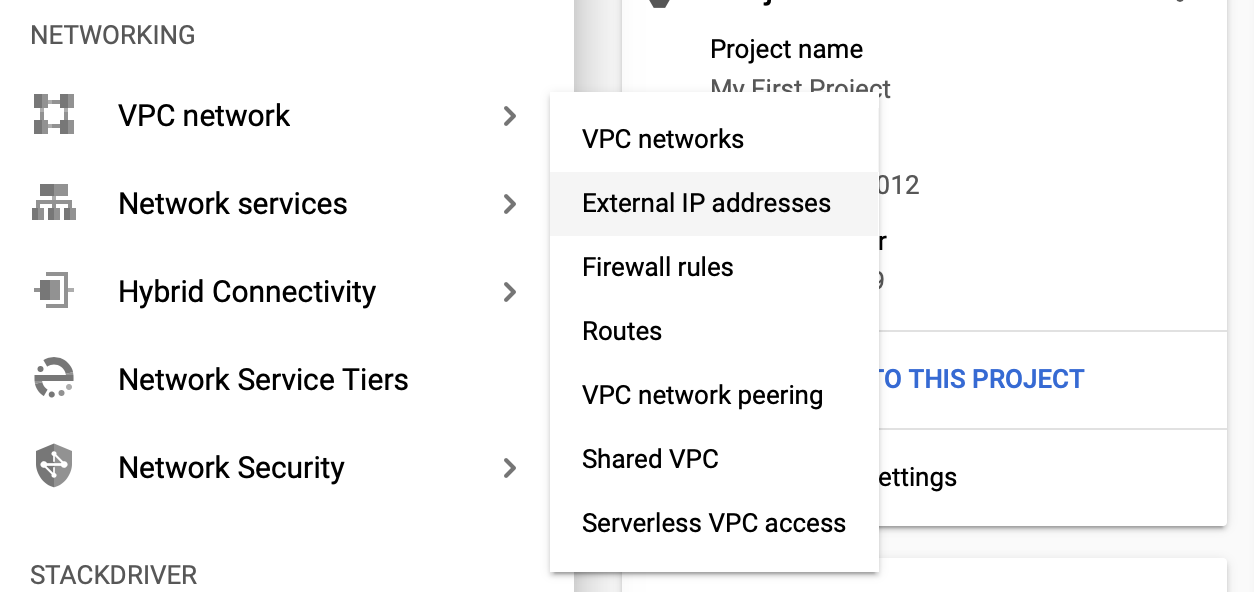
Go to Networking -> External IP Address
Step 2
Now change the type Ephemeral to Static

Step 3
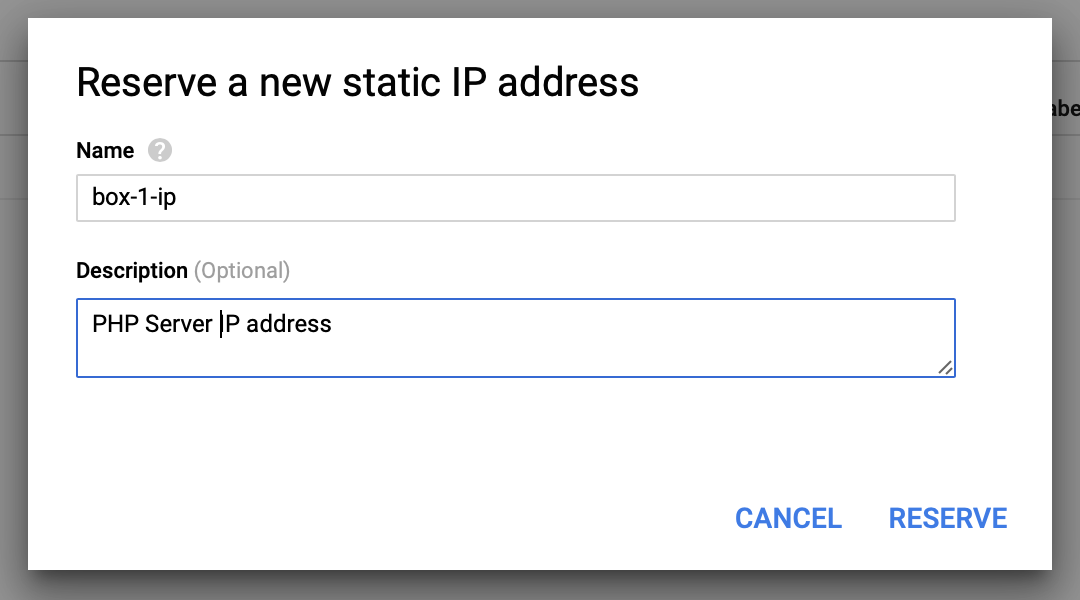
You have to provide the name and description for the reference to Reserve the static IP address.
Step 4
This automatically map with existing instance. If you have multiple instances, just choose by click on the In use by

Connecting the Instance with SSH
Step 1
Go to the instance and click the SSH button under the Connect.

Step 2
Browser lanuches a cloud terminal with SSH connect.
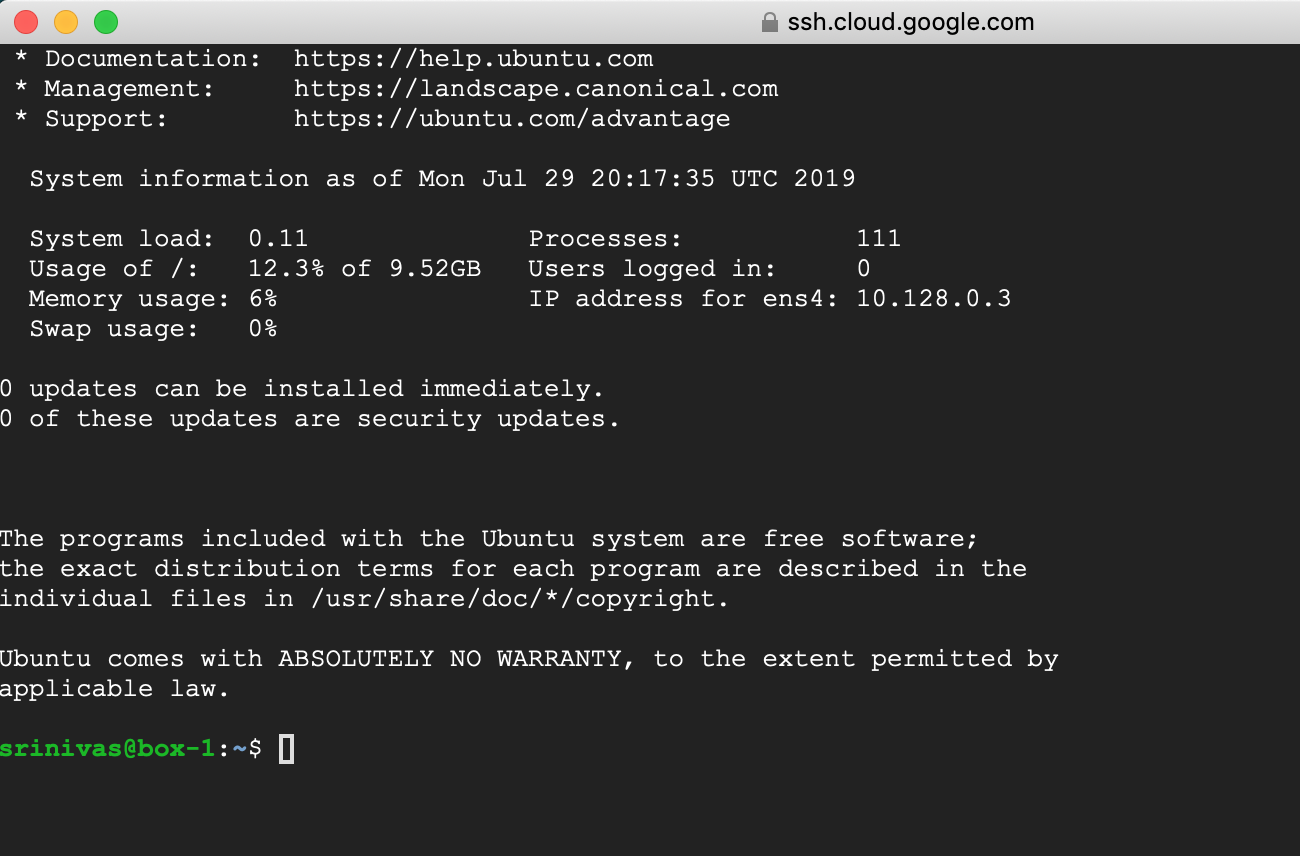
XAMPP Installation Commands for Ubuntu
Download XAMPP for 64 bit
wget https://www.apachefriends.org/xampp-files/7.0.23/xampp-linux-x64-7.0.23-0-installer.run
Make Execute Installation
sudo chmod +x xampp-linux-x64-7.0.23-0-installer.run
Run Installation
sudo ./xampp-linux-x64-7.0.23-0-installer.run
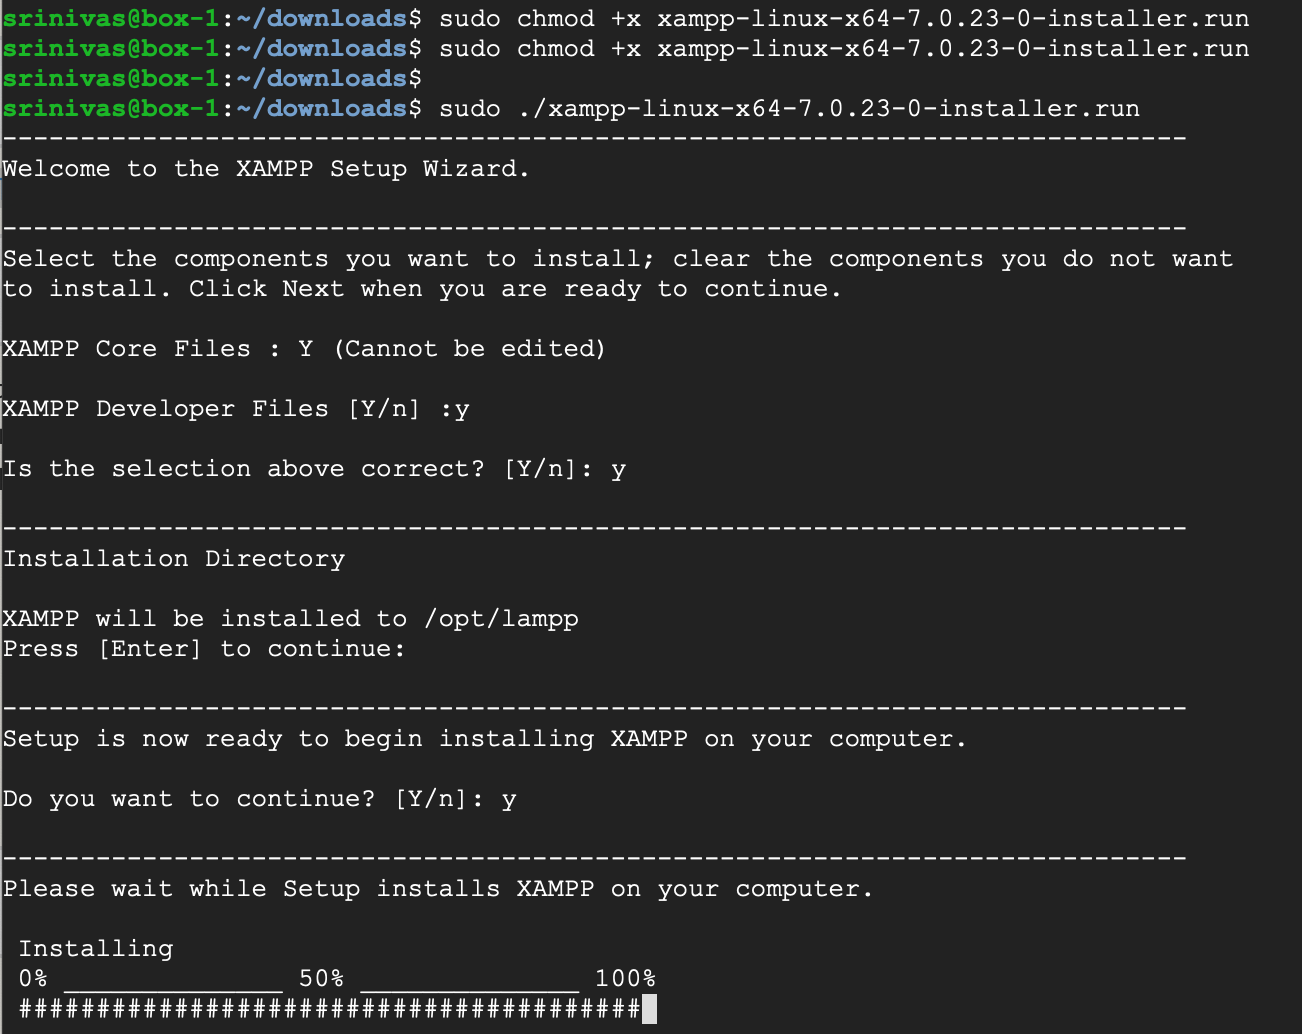
XAMPP instructions
Select the components you want to install; clear the components you do not want to install. Click Next when you are ready to continue.
XAMPP Core Files : Y (Cannot be edited)
XAMPP Developer Files [Y/n] : Y
Is the selection above correct? [Y/n]: Y
Installation Directory
XAMPP will be installed to /opt/lampp
Press [Enter] to continue:
Do you want to continue? [Y/n]:Y
XAMPP Core Files : Y (Cannot be edited)
XAMPP Developer Files [Y/n] : Y
Is the selection above correct? [Y/n]: Y
Installation Directory
XAMPP will be installed to /opt/lampp
Press [Enter] to continue:
Do you want to continue? [Y/n]:Y
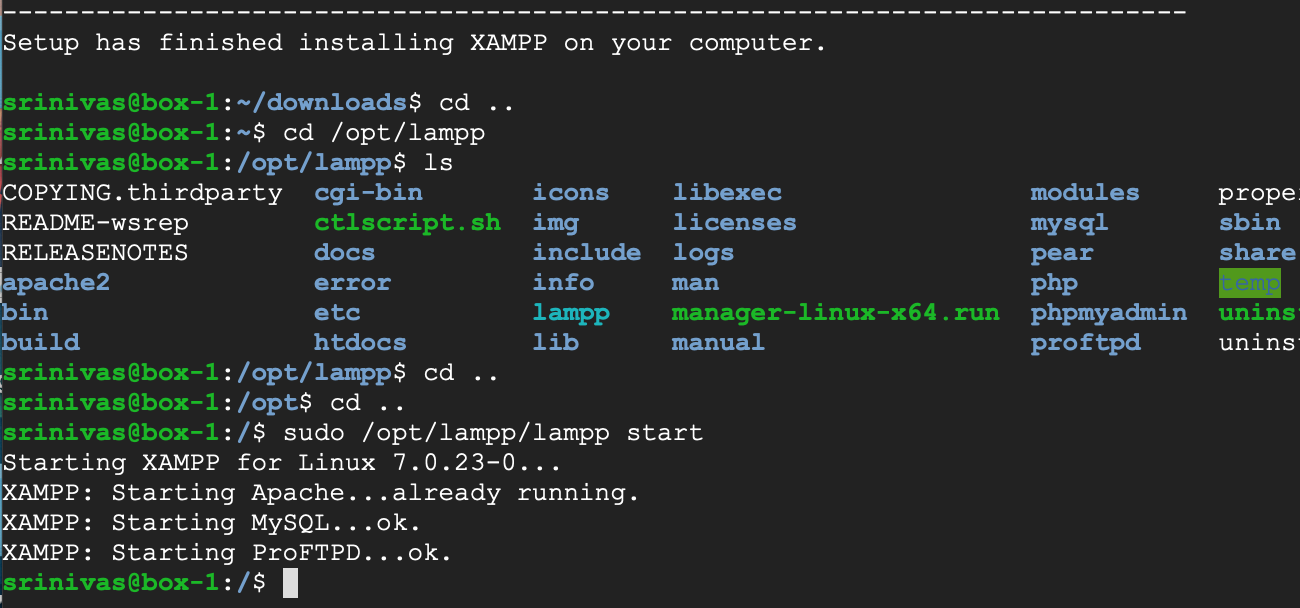
Run XAMPP
sudo /opt/lampp/lampp start
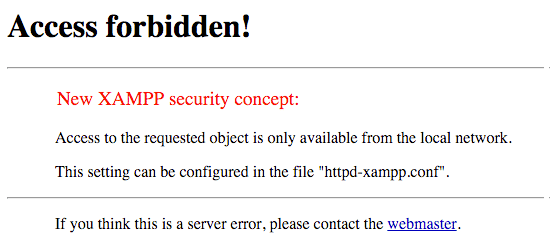
XAMPP Access Forbidden
Open your browser and access http://IP-ADDRESS/ you will find this Access forbidden screen.
XAMPP Configurations
Edit XAMPP configurations.
vi /opt/lampp/etc/extra/httpd-xampp.conf
<LocationMatch "^/(?i:(?:xampp|security|licenses|phpmyadmin|webalizer|server-status|server-info))">
Require local
ErrorDocument 403 /error/XAMPP_FORBIDDEN.html.var
</LocationMatch>
to
<LocationMatch "^/(?i:(?:xampp|security|licenses|phpmyadmin|webalizer|server-status|server-info))">
Order deny,allow
Allow from all
Allow from ::1 127.0.0.0/8 \
fc00::/7 10.0.0.0/8 172.16.0.0/12 192.168.0.0/16 \
fe80::/10 169.254.0.0/16
ErrorDocument 403 /error/XAMPP_FORBIDDEN.html.var
</LocationMatch>
Restart XAMPP
sudo /opt/lampp/lampp restart
Security Settings
sudo /opt/lampp/xampp security
XAMPP: Your XAMPP pages are NOT secured by a password.
XAMPP: Do you want to set a password? [yes]
XAMPP: Your XAMPP pages are NOT secured by a password.
XAMPP: Do you want to set a password? [yes] no
XAMPP: MySQL is accessable via network.
XAMPP: Normaly that's not recommended. Do you want me to turn it off? [yes] yes
XAMPP: Turned off.
XAMPP: Stopping MySQL...ok.
XAMPP: Starting MySQL...ok.
XAMPP: The MySQL/phpMyAdmin user pma has no password set!!!
XAMPP: Do you want to set a password? [yes] yes
XAMPP: Password:*******
XAMPP: Password (again):*******
XAMPP: Setting new MySQL pma password.
XAMPP: Setting phpMyAdmin's pma password to the new one.
XAMPP: MySQL has no root passwort set!!!
XAMPP: Do you want to set a password? [yes] yes
XAMPP: Write the password somewhere down to make sure you won't forget it!!!
XAMPP: Password:*******
XAMPP: Password (again):*******
XAMPP: Setting new MySQL root password.
XAMPP: Change phpMyAdmin's authentication method.
XAMPP: The FTP password for user 'daemon' is still set to 'xampp'.
XAMPP: Do you want to change the password? [yes] no
XAMPP: Done.
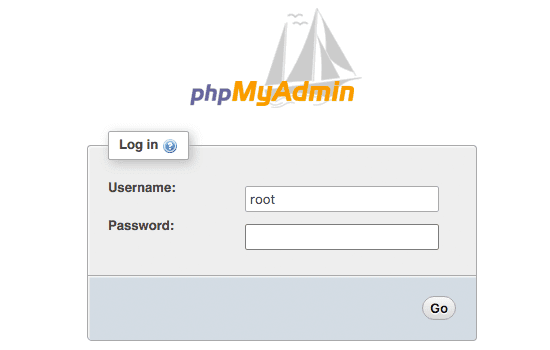
PhpMyAdmin
Access PhyMyAdmin at http://IP-Address/phpmyadmin/
Domain Settings
If you own a domain address, go to domain DNS(Domain name settings). Add host value @ points to IP-Address
Activate for Unlimited Access of GCP
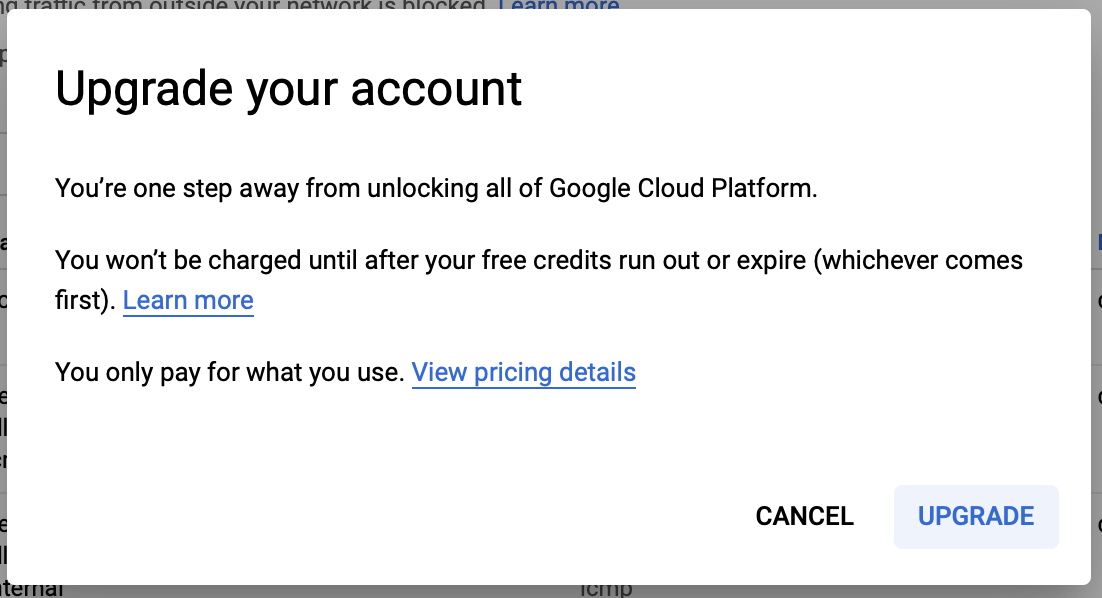
You will find the following notification to activate.
Activate the unlimited access to use features like Static IP, Firewall rules etc.

Upgrade your accout.
Find the billing information.
Custom Firewall Settings
For enabling custom ports for external usage.
Go to Network -> Firewall Rules
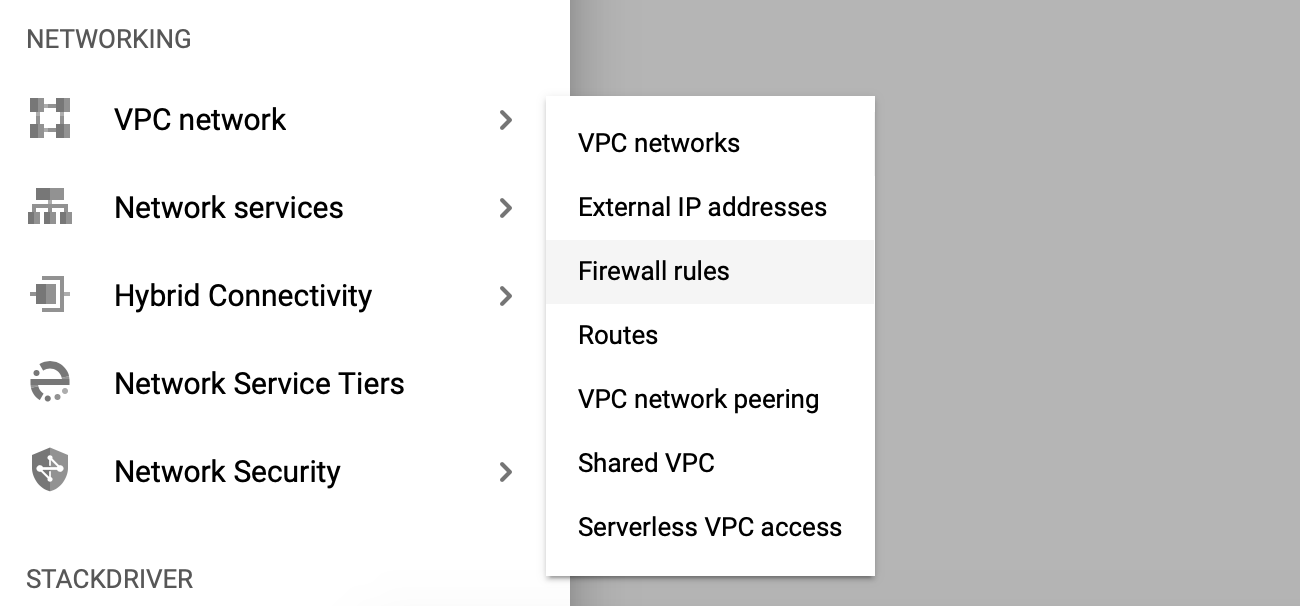
Here you will find the default internal rules.
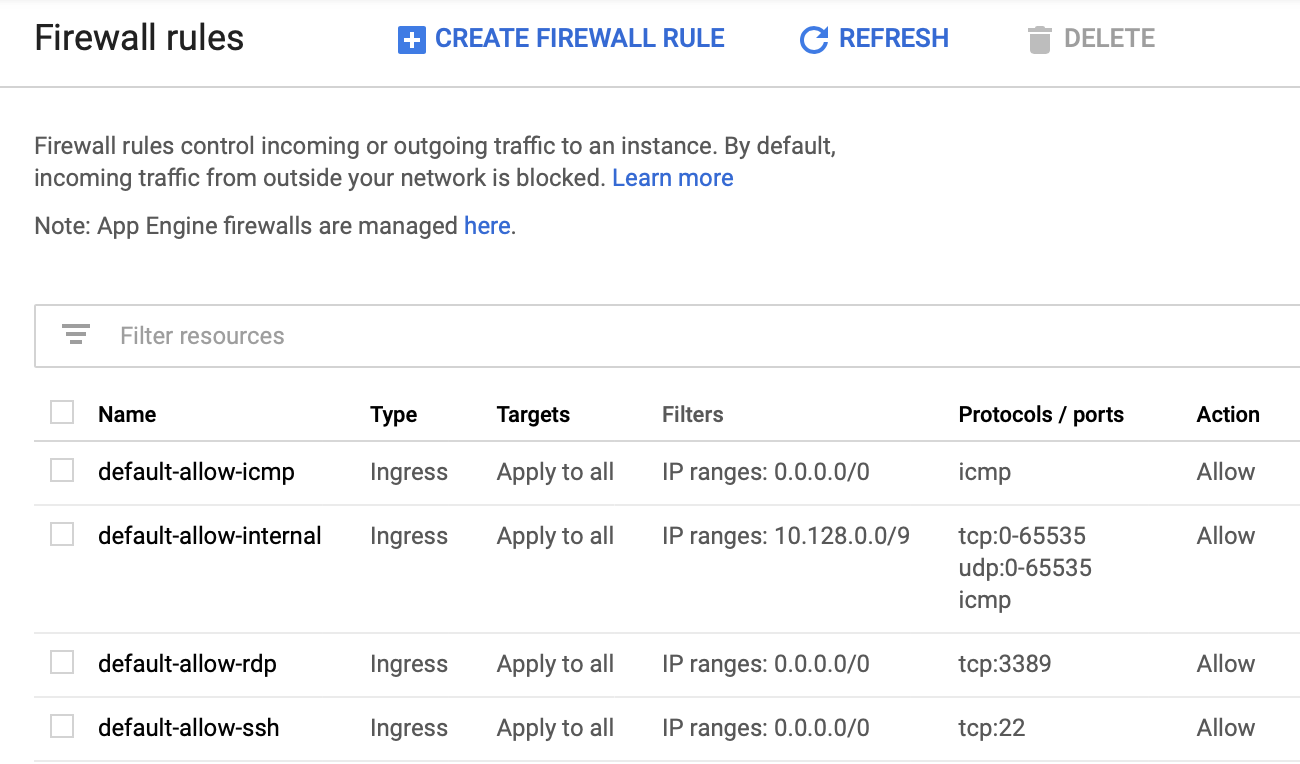
Create a new rule.
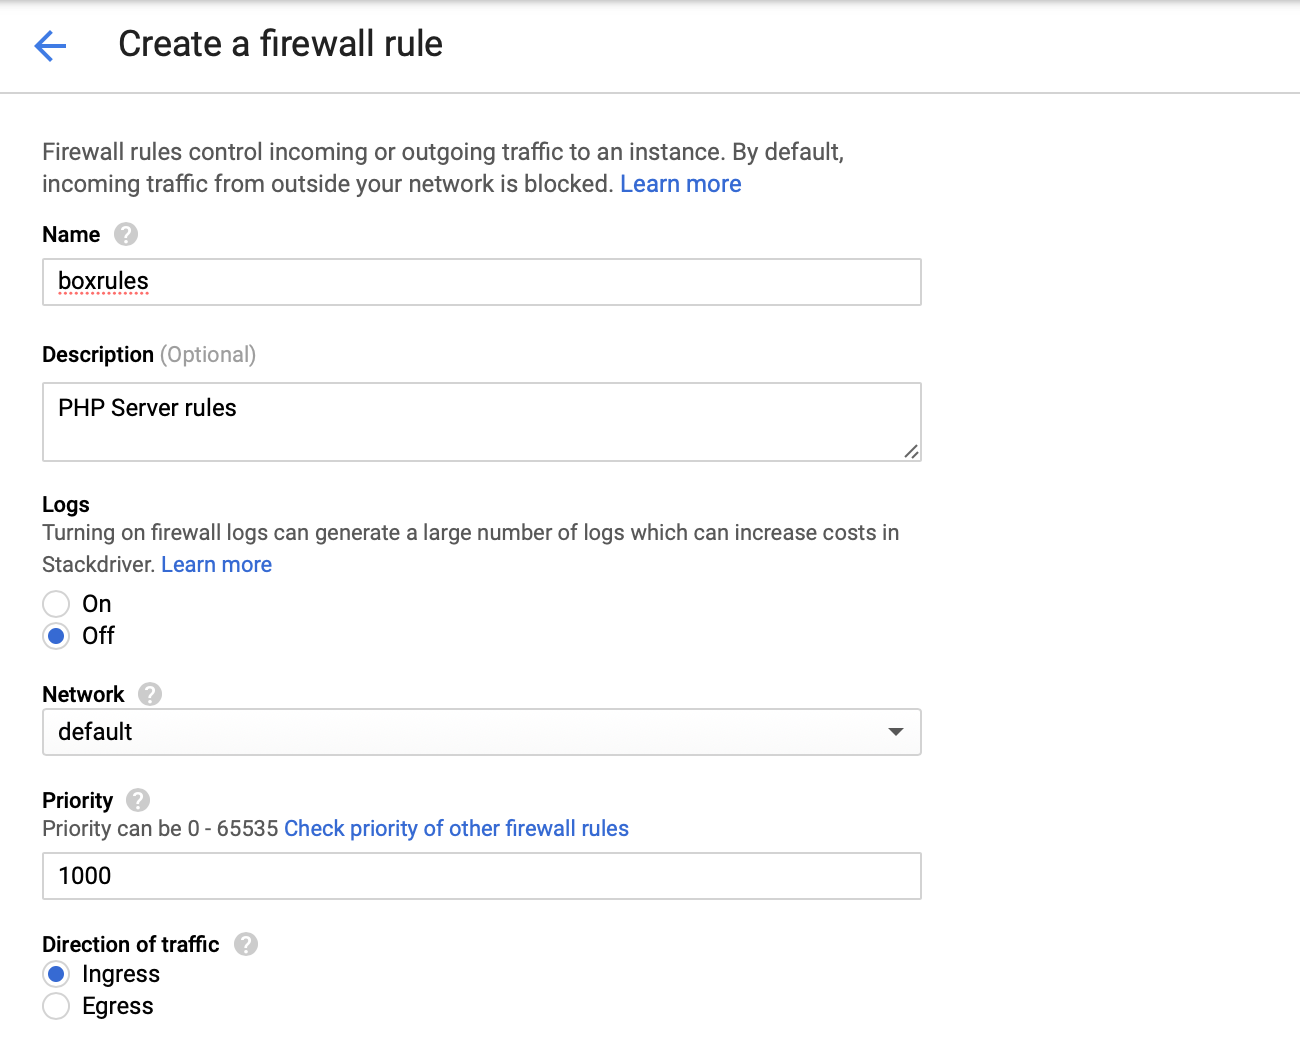
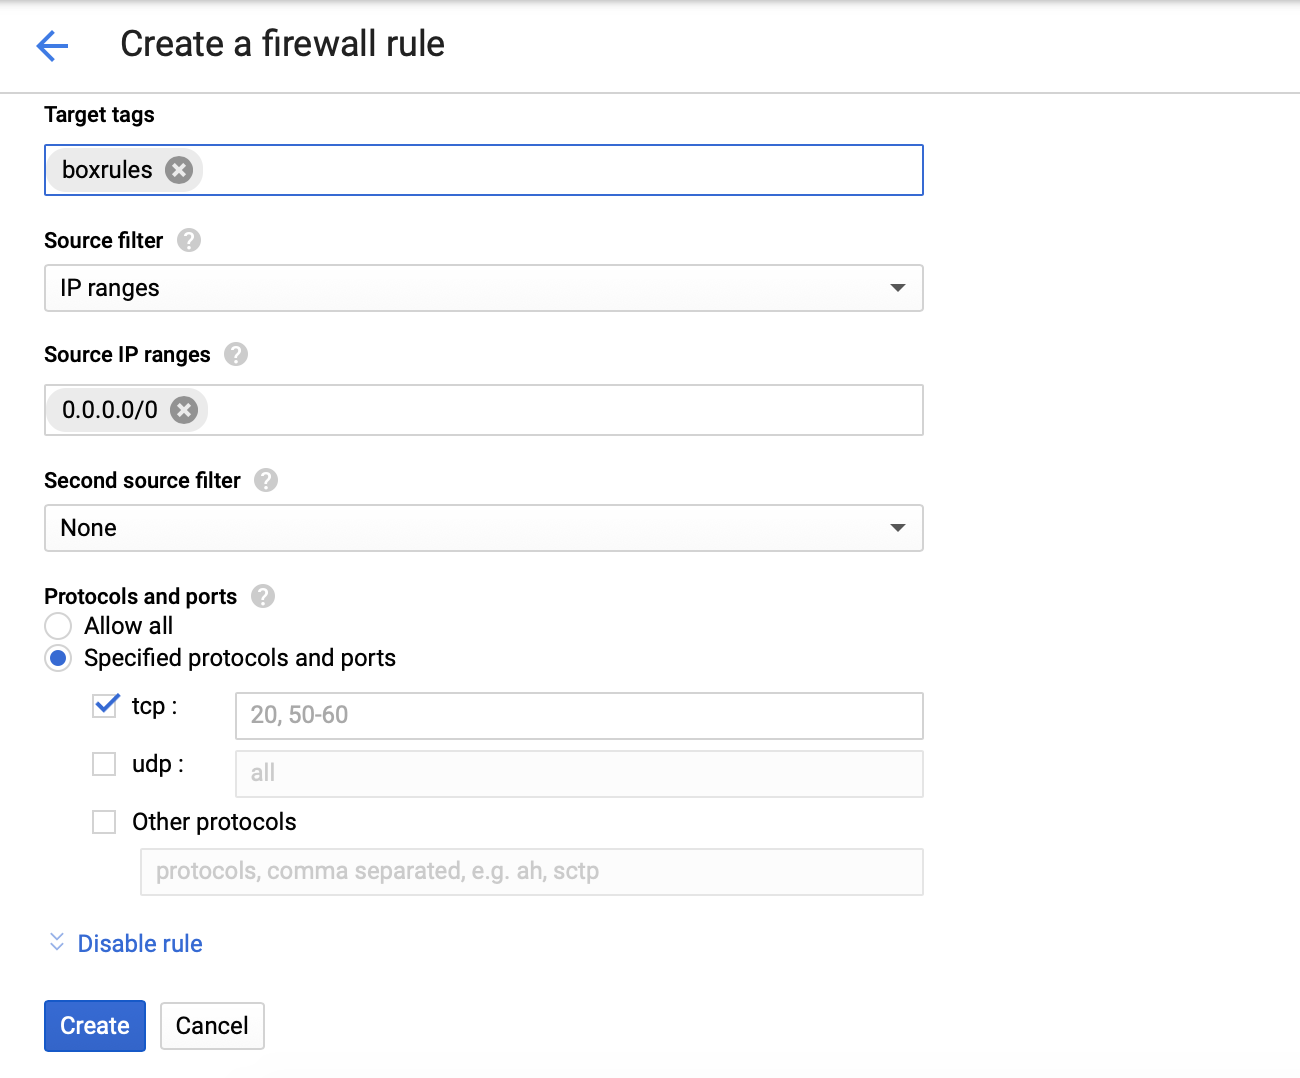
Choose Specified protocals and ports and Source IP range 0.0.0.0/0
Firewall rule has been created.
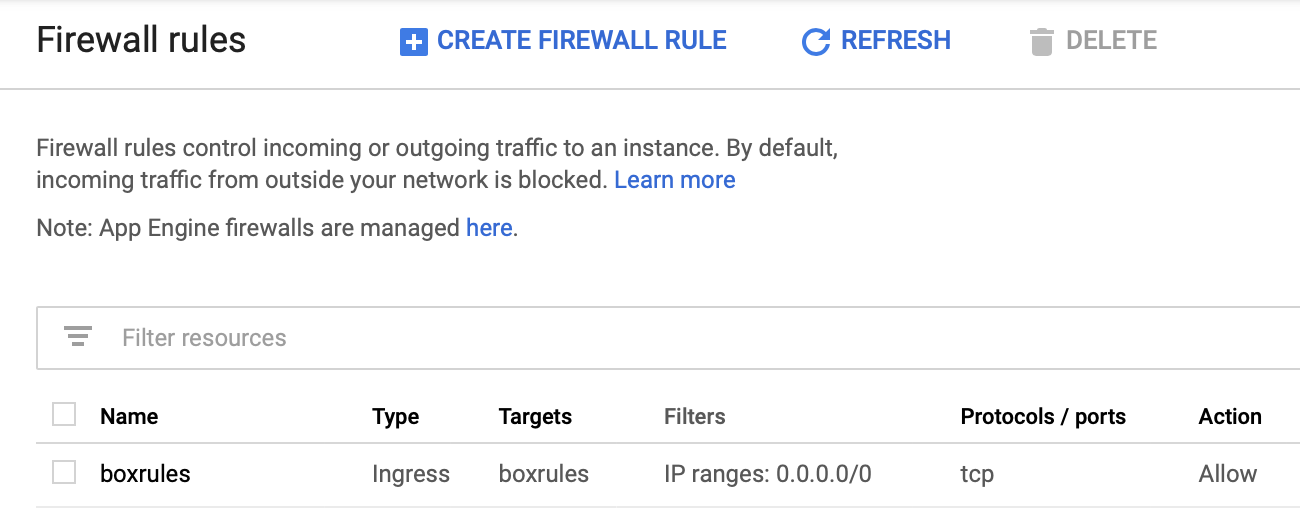
Edit the rule and modify the protocals and port numbers. Here I enabled 80 for HTTP and 443 HTTPs. But we already enabled by default with VM instance. This is just an example to understand.
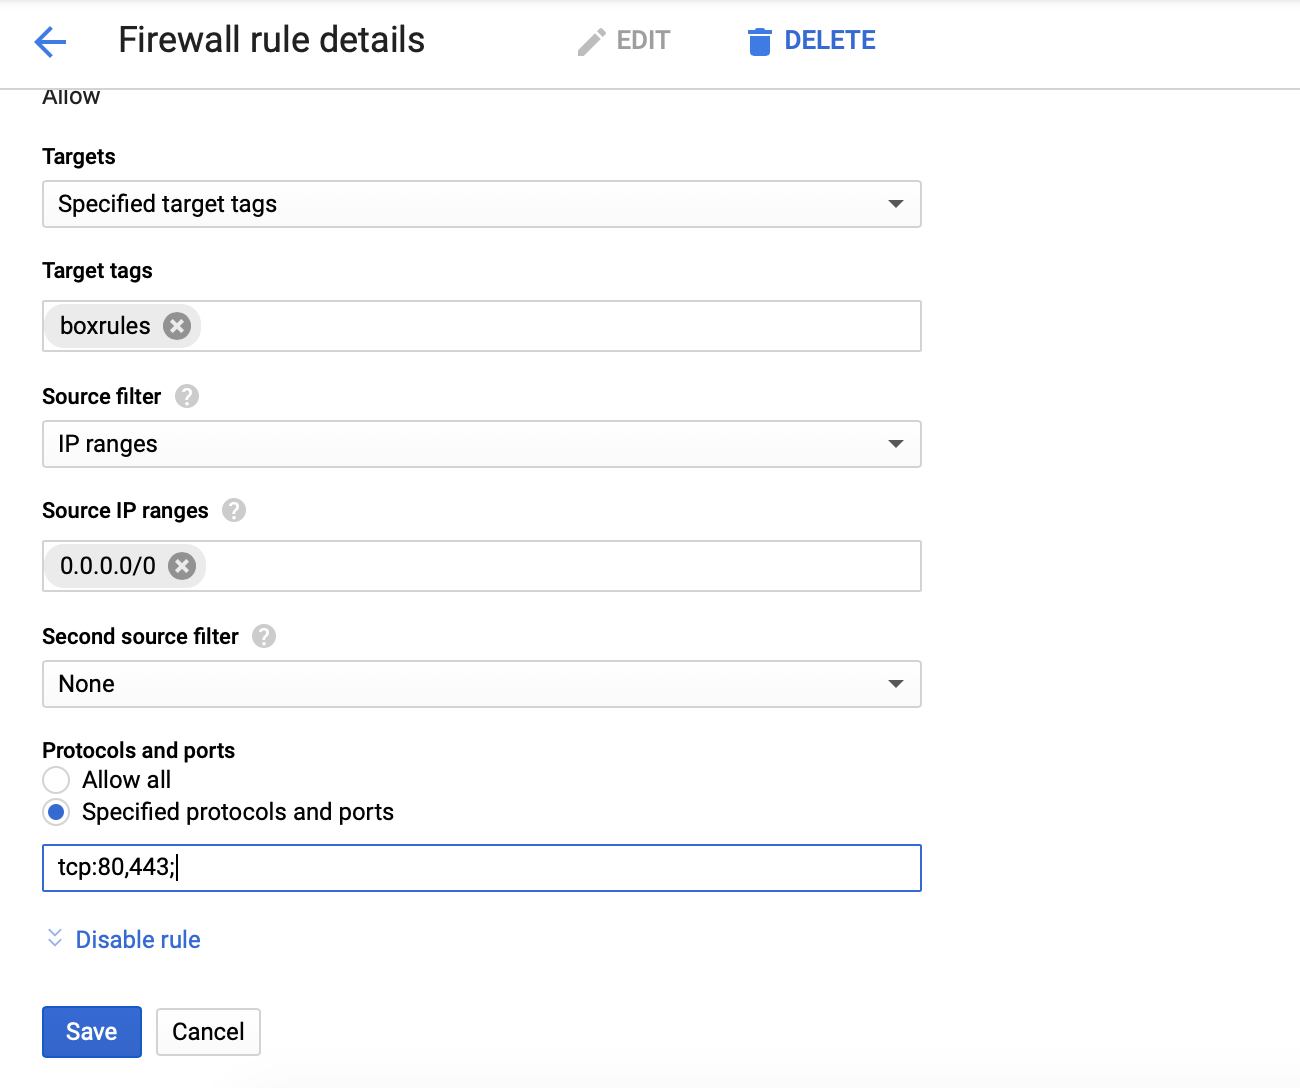
This will show the port numbers in following way.

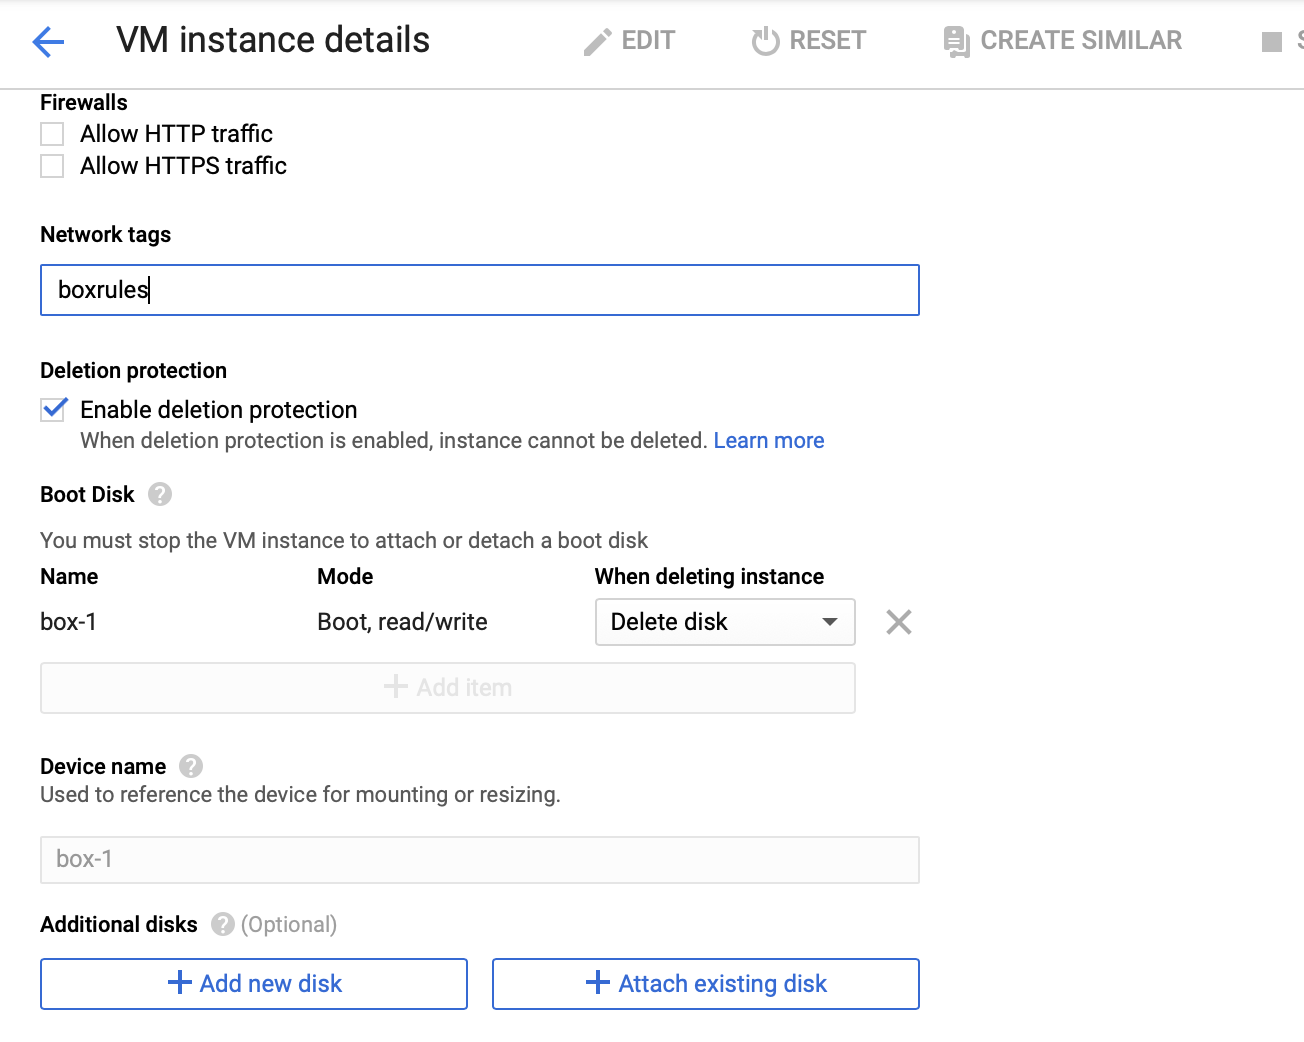
You can apply the firewall rule at VM instance details at Network tags. Here include the custom Firewall tag name.


Very good post. But can't choose between AWS and Google cloud. Not sure which is the best for my needs.
ReplyDeleteThank you!
ReplyDeleteThanks for the update easy setup. I set up with the XAMP PHP server without any hazard. I think it is so much useful for all & we may hope that we get same type of post continuously.
ReplyDeleteVery helpful post. I have done the configuration as per the post & it's working fine.
ReplyDeleteBut can you help me to create sub domain.