


Live Demo
Download Pocketbase
Create a Pocketbase directory and use wget command to download the Pocketbase application. Unzip the downloaded zip file. You will more details and download options in Pocketbase documentation.
$cd pocketbase
$wget https://github.com/pocketbase/pocketbase/releases/download/v0.7.9/pocketbase_0.7.9_linux_amd64.zip
$sudo apt-get install unzip
$unzip pocketbase_0.7.9_linux_amd6.zip
Start Pocketbase Server
Use the following command to run the pocketbase server. Pocketbase server runs at port 8090.
http://127.0.0.1:8090 - if pb_public directory exists, serves the static content from it (html, css, images, etc.)
http://127.0.0.1:8090/_/ - Admin dashboard UI
http://127.0.0.1:8090/api/ - REST API
Create Start Server Bash Shell Script File(start.sh)
Same directory create a bash shell script file to execute the pocketbase server. Here /home/ubuntu/pocketbase/ is the downloaded location.
cd /home/ubuntu/pocketbase
./pocketbase servePocketbase Login
Signup and create your admin password.

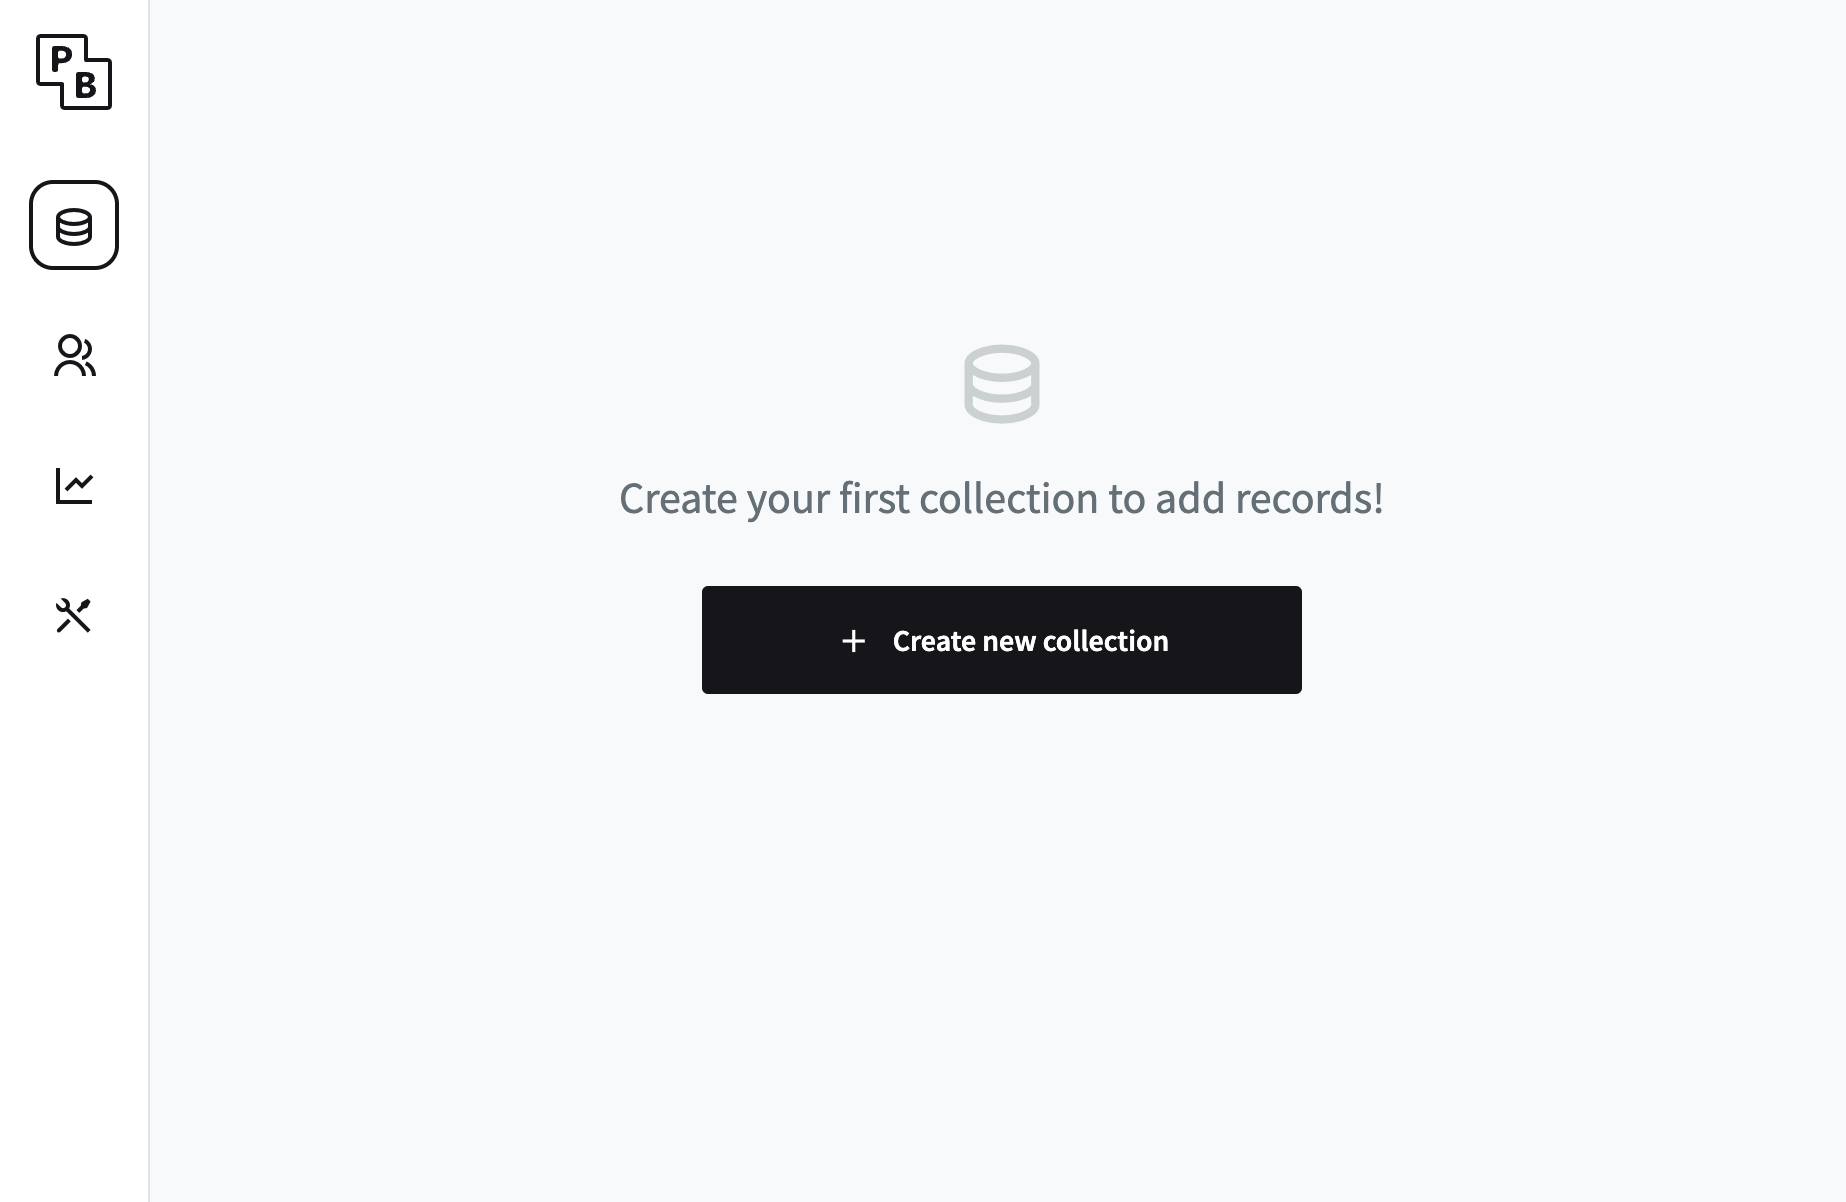
Pocketbase Dashboard
Create Pocketbase Service for System Startup
Go to /etc/systemd/system directory and create pocketbase.service file.
vi pocketbase.service
pocketbase.service
Here you have to configure your start.sh file. If you have a different location, just update the ExecStart path.
Description=Pocketbase
After=network.target
[Service]
Type=simple
ExecStart=/home/ubuntu/pocketbase/start.sh
TimeoutStartSec=0
[Install]
WantedBy=multi-user.targetVerify Service Status
● pocketbase.service - Pocketbase
Loaded: loaded (/etc/systemd/system/pocketbase.service; enabled; vendor preset: enab>
Active: inactive (dead)
Enable Pocketbase Service
The following command enables the pocketbase.service for the startup.
Created symlink /etc/systemd/system/multi-user.target.wants/pocketbase.service → /etc/systemd/system/pocketbase.service
Active Status
Now you will find the status is active.
● pocketbase.service - Pocketbase
Loaded: loaded (/etc/systemd/system/pocketbase.service; enabled; vendor preset: enab>
Active: active (running) since Mon 2022-10-17 02:35:41 UTC; 1 weeks 0 days ago
Main PID: 865 (start.sh)
Tasks: 8 (limit: 1121)
Memory: 16.7M
CGroup: /system.slice/pocketbase.service
├─865 /bin/bash /home/ubuntu/pocketbase/start.sh
└─873 ./pocketbase serve
Oct 17 02:35:41 ip-972-62-1-235 systemd[1]: Started Pocketbase.
Oct 17 02:35:41 ip-972-62-1-235 start.sh[873]: > Server started at: http://127.0.0.1:8090
Oct 17 02:35:41 ip-972-62-1-235 start.sh[873]: - REST API: http://127.0.0.1:8090/api/
Oct 17 02:35:41 ip-972-62-1-235 start.sh[873]: - Admin UI: http://127.0.0.1:8090/_/Restart Server
Restart your server and check the service status again.
Enable Apache modules
You have to enable the following apache modules for proxy forwarding.
sudo a2enmod proxy_http
sudo a2enmod headers
Backup Original Configuration
$cp 000-default.conf 000-default-back.conf
Edit Default Configuration
Include the following virtual host configuration
ProxyPreserveHost On
ProxyRequests Off
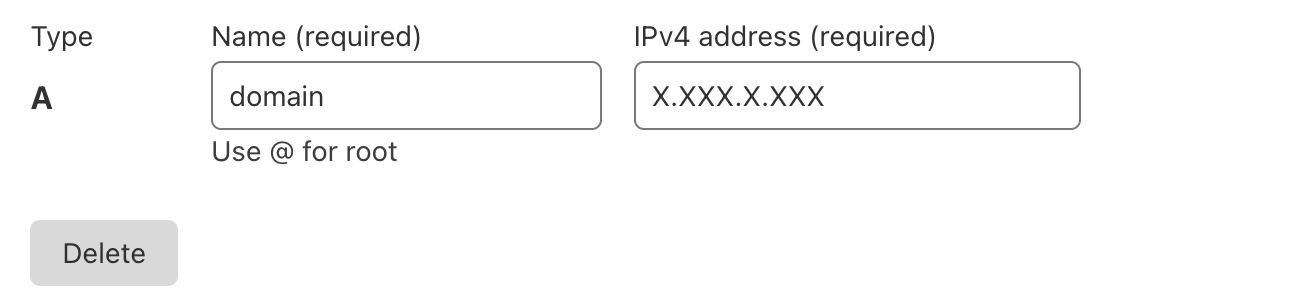
ServerName www.sub.domain.com
ServerAlias sub.domain.com
ProxyPass / http://localhost:8090/
ProxyPassReverse / http://localhost:8090/
</VirtualHost>Restart Apache Server
Apache restart will reflect the changes.
Configure Virtual Hosts
Go to the following path and modify httpd-vhosts.conf file. Better take a backup before modifying.
Include both configurations.
DocumentRoot "/opt/lampp/htdocs"
ServerName localhost
</VirtualHost>
<VirtualHost *:80>
ServerName sub.domain.com
ServerAlias sub.domain.com
<Location />
ProxyPass http://localhost:8090/
ProxyPassReverse http://localhost:8090/
</Location>
</VirtualHost>XAMPP Configuration
Enable httpd vhosts Scroll down and enable support for vhosts.
Include etc/extra/httpd-vhosts.conf
Restart XAMPP XAMPP restart will reflect the server changes.


0 comments: