

We have already discussed few articles on Ionic. Latest Ionic 3 came up with lazy loading concepts. Changing Ionic apps to use lazy loading significantly boost up the app performance. This actually improves the app speed, instead of loading everything in root application module file. This allows doing the work in sync with when your users want it to happen. This article explains to you how to modify the existing default Ionic app and apply lazy load concepts like working with providers, shared/child components. It process by loading chunks of code such as child components when it’s requested not when the app is loaded. Use this feature and enrich your application. Watch the video, you understand it better.

Install Latest Ionic & Cordova
Update your Ionic using following command. Now it supports hotloading with IonicDevApp and lazyloading.
$npm install ionic cordova -g
Video Tutorial - Ionic Angular Lazy Loading with Child Components
Create Ionic Project with Tabs
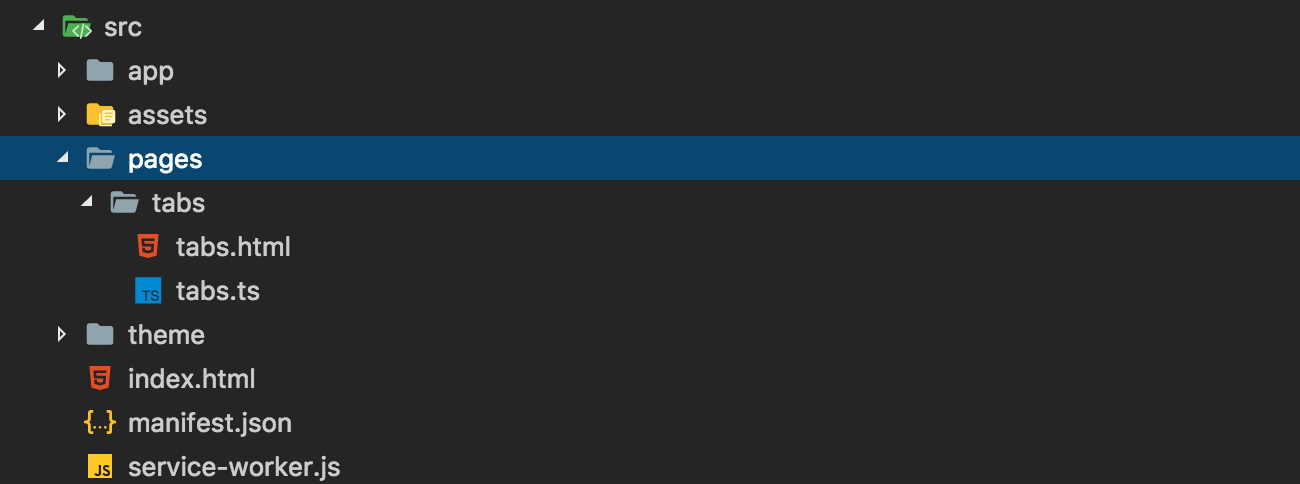
Let's create a Ionic default tabs project. This comes with default structure wit following compoenents.
$ionic start YourProjectName tabs
Default Project
We are applying lazy loading features to this application.

Getting started
Go to src folder and modify app.module.ts
app.module.ts
Here we are dropping all the existing page component imports like home, about and contact.
import { NgModule, ErrorHandler } from '@angular/core';
import { BrowserModule } from '@angular/platform-browser';
import { IonicApp, IonicModule, IonicErrorHandler } from 'ionic-angular';
import { MyApp } from './app.component';
import { StatusBar } from '@ionic-native/status-bar';
import { SplashScreen } from '@ionic-native/splash-screen';
@NgModule({
declarations: [
MyApp
],
imports: [
BrowserModule,
IonicModule.forRoot(MyApp)
],
bootstrap: [IonicApp],
entryComponents: [
MyApp
],
providers: [
StatusBar,
SplashScreen,
{provide: ErrorHandler, useClass: IonicErrorHandler}
]
})
export class AppModule {}
Delete Pages
Go to project folder and delete all the pages except tabs. We are going to modify the TabsPage later.
Regenerate Pages
Generate pages using latet Ionic version. This comes with lazy load modules.
$ionic g page Home
$ionic g page About
$ionic g page Contact
$ionic g page About
$ionic g page Contact
Newly Generated Pages
If you notice new page components comes up with Ionic Page Module. This is going to support lazy loading.

Create Module for Tabs
We need to create the following file. This play key role for lazy loading page.
tabs.moudle.ts
Create this file inside tabs folder. It is very similar to home.module.ts
import { NgModule } from '@angular/core';
import { IonicPageModule } from 'ionic-angular';
import { TabsPage } from './tabs';
@NgModule({
declarations: [
TabsPage,
],
imports: [
IonicPageModule.forChild(TabsPage),
],
})
export class HomePageModule {}
tabs.ts
Drop all the page component imports, instead we are going to use page names and keep page name in quots link HomePage to "HomePage". Here IonicPage module will understand all of these page names.
import { Component } from "@angular/core";
import { IonicPage } from "ionic-angular";
@IonicPage()
@Component({
templateUrl: "tabs.html"
})
export class TabsPage {
tab1Root = "HomePage";
tab2Root = "AboutPage";
tab3Root = "ContactPage";
constructor() {}
}
app.components.ts
Some way you have remove TabsPage component and replace the root page with name string "TabsPage".
import { Component } from '@angular/core';
}
import { Platform } from 'ionic-angular';
import { StatusBar } from '@ionic-native/status-bar';
import { SplashScreen } from '@ionic-native/splash-screen';
@Component({
templateUrl: 'app.html'
})
export class MyApp {
rootPage:any = 'TabsPage';
constructor(platform: Platform, statusBar: StatusBar, splashScreen: SplashScreen) {
platform.ready().then(() => {
statusBar.styleDefault();
splashScreen.hide();
});
}
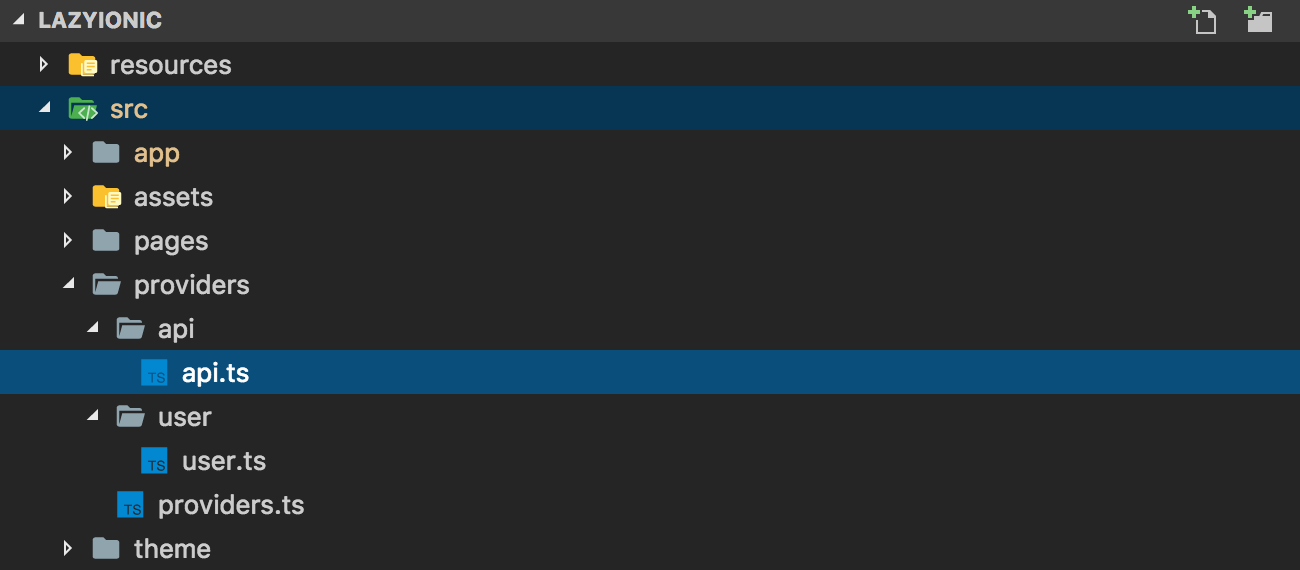
Working with Providers
The provider is an injectable component or service. Here you can include the most commonly used functions like HTTP api calls etc.
Generate providers using Ionic command and this will take care all the imports in app.module.ts
$ionic g provider Api
$ionic g provider User
$ionic g provider User
Note: Watch the video for provider.ts export file.
app.module.ts
App module will update with new providers. Here you have to include HttpModule for making API calls.
import { NgModule, ErrorHandler } from '@angular/core';
import { BrowserModule } from '@angular/platform-browser';
import { IonicApp, IonicModule, IonicErrorHandler } from 'ionic-angular';
import { MyApp } from './app.component';
import { HttpModule } from "@angular/http";
import { StatusBar } from '@ionic-native/status-bar';
import { SplashScreen } from '@ionic-native/splash-screen';
import { ApiProvider, UserProvider } from '../providers/providers';
@NgModule({
declarations: [
MyApp
],
imports: [
BrowserModule,
IonicModule.forRoot(MyApp),
HttpModule
],
bootstrap: [IonicApp],
entryComponents: [
MyApp
],
providers: [
StatusBar,
SplashScreen,
{provide: ErrorHandler, useClass: IonicErrorHandler},
ApiProvider,
UserProvider
]
})
export class AppModule {}
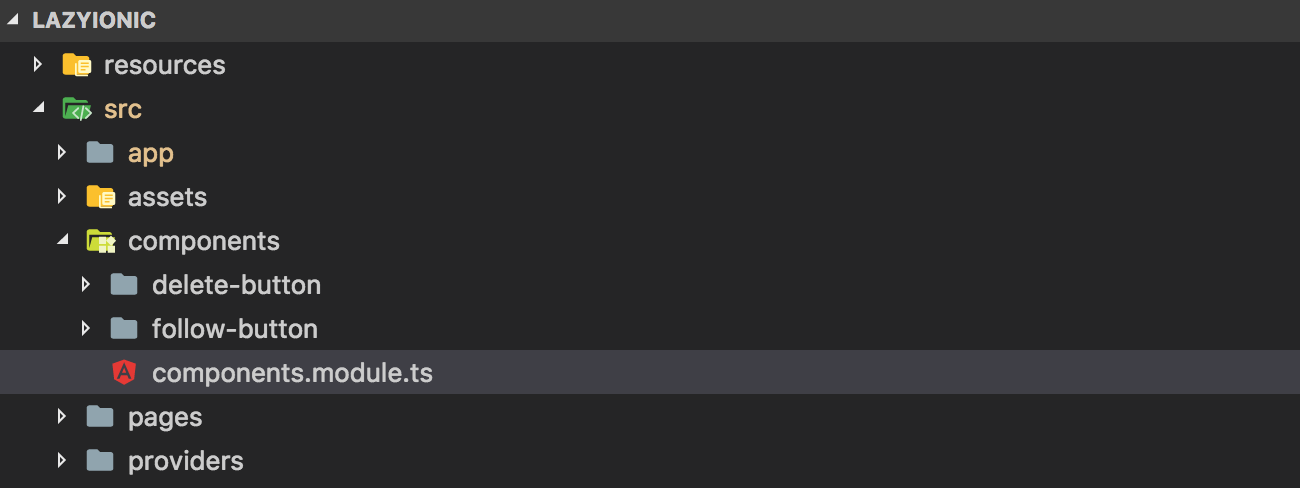
Working with Shared/Child Components
In the Ionic project, the page is nothing but an angular component. Shared/Child component you can import into multiple pages. This comes with HTML template.
Ionic command for generting components.
$ionic g component FollowButton
$ionic g component DeleteButton
$ionic g component DeleteButton
It will auto generate component.module.ts export file.
component.module.ts
Common import file for all the shared components.
import { NgModule } from "@angular/core";
export class ComponentsModule {}
import { FollowButtonComponent } from "./follow-button/follow-button";
import { IonicModule } from "ionic-angular";
import { DeleteButtonComponent } from "./delete-button/delete-button";
@NgModule({
declarations: [FollowButtonComponent, DeleteButtonComponent],
imports: [IonicModule],
exports: [FollowButtonComponent, DeleteButtonComponent]
})
How to Import Lazy load Child Components
You can import shared components for importing comonent.module.ts
home.moudle.ts
Import ComponentModule export componets file and include it in imports.
import { NgModule } from '@angular/core';
export class HomePageModule {}
import { IonicPageModule } from 'ionic-angular';
import { HomePage } from './home';
import { ComponentsModule } from '../../components/components.module';
@NgModule({
declarations: [
HomePage,
],
imports: [
ComponentsModule,
IonicPageModule.forChild(HomePage),
],
})
home.html
Use component selector <follow-button> to call the Follow Button component. Here using name attribute initiating the data to the child compoent. For pusing dynamic data use [name] attribute. Here name is the input key.
<ion-header>
</ion-content>
<ion-navbar>
<ion-title>home</ion-title>
</ion-navbar>
</ion-header>
<ion-content padding>
Lazy loading
<follow-button name="home page" ></follow-button>
Working with Input String
Using @Input() module we can read the name attribute value.
frined-button.ts
Import Input module and declare input string "name".
import { Component, Input } from "@angular/core";
@Component({
selector: "follow-button",
templateUrl: "follow-button.html"
})
export class FollowButtonComponent {
@Input() name: String;
text: string;
constructor() {
console.log("Hello FollowButtonComponent Component");
this.text = "Follow Button";
}
action() {
console.log(this.name);
}
}
frined-button.html
Implemented an action for priting input value in console.log
<button ion-button (click)="action()">
{{text}}
</button>
Video Tutorial - Ionic Angular Lazy Loading with Child Components


nice work sir
ReplyDeleteThank You Sir
ReplyDeleteThanks
ReplyDeleteHave you written a specific post on how to reach/market to influencers that you can refer me to or post here?
Thanks for Sharing this Article. It`s very helpful. I have need for more knowledge for
ReplyDeleteAmazing Article Sir. It`s very helpful Article. Thanks for Sharing This Article.
ReplyDeleteThank You so very much for such helpful tips for newbies like me. Your work always inspires thousands of people like me to try hands on writing.Keep up the great work and keep motivating us.
ReplyDelete